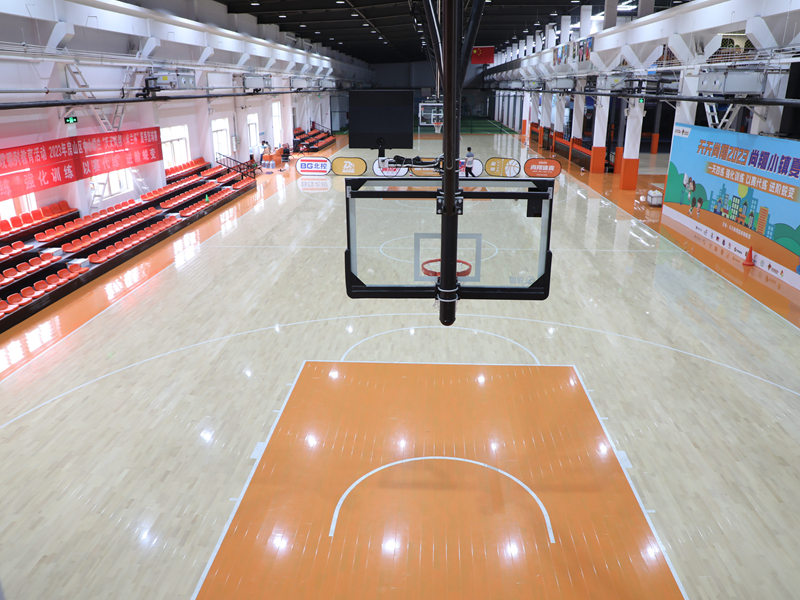
Alright, let’s talk about putting in that basketball flooring. The solid wood kind, you know, the one that comes in assembled panels with some cushioning underneath. It wasn’t exactly a weekend picnic, but I got it done.

Getting Started – The Idea and the Mess
So, the old garage floor was just sad concrete. My kid’s getting really into basketball, and dribbling on that rough surface? Terrible. Plus, my knees aren’t what they used to be. I thought, hey, let’s make a proper space. I looked around and found this type of flooring – solid wood, already put together in big chunks, supposedly with built-in cushion. Sounded easier than laying individual strips.
First job, obviously, was clearing out the garage. Man, the amount of junk you collect. Took nearly a whole day. Then I had to clean that concrete floor. Swept it, vacuumed it, even scrubbed some old oil stains. You really want a clean, flat surface to start with. I checked for levelness too, it wasn’t perfect, but looked okay enough for this kind of floating floor system.
Laying Down the Base
The flooring kit came with this rubbery underlayment roll. This is the ‘cushion’ part, I guess. Rolling it out was simple enough. Cutting it to fit around corners and pipes? A bit fiddly. Used a basic utility knife. You just roll it out, butt the edges up against each other, and tape the seams. Simple stuff, really. Made the whole space feel a bit quieter already.
Putting the Wood Together
Now for the main event – the wooden panels. These things were pretty hefty. Solid wood, remember. They weren’t light. They were designed to sort of lock together. Like giant puzzle pieces.
I started along the longest wall, like the instructions vaguely suggested. The first row is always the most important, gotta get it straight.
- Lined up the first panel.
- Grabbed the second one, angled it in, pushed down. Click!
- Kept going down the line.
It mostly went okay. Mostly. Some panels needed a bit more persuasion. A rubber mallet became my best friend here. Gentle taps, sometimes less gentle taps, to get them to sit flush and lock tight. You don’t want gaps.
Cutting the panels for the end of rows, or around odd shapes? That was the real challenge. These are thick, solid wood panels. My little handsaw wasn’t cutting it, literally. Had to borrow a friend’s jigsaw. Even then, you gotta measure twice (or thrice!), cut once. Made a fair bit of sawdust mess. Definitely wear eye protection. I almost forgot, rookie mistake.
Working Through It
It took longer than I thought. Those panels cover area, sure, but lifting, positioning, locking, and then dealing with the cuts… it’s repetitive work. Kneepads were a lifesaver. My back started complaining after the first few hours.
There was one tricky spot near the door where the concrete dipped slightly. When I laid the panel over it, there was a tiny bit of give. Not ideal. I thought about trying to shim it but ended up just hoping the weight of the whole floor would settle it. We’ll see how that holds up long term, I guess. Part of DIY, right? You make compromises.
The ‘assembled’ part is true, the panels themselves are pre-built squares or rectangles. But connecting those panels is the real work. It’s not like laying down tiles, it’s more physical.
Finishing Touches and Thoughts
Once all the panels were down, locked in place, it looked… well, it looked like a basketball court! Or a section of one, anyway. I still needed to put down some transition strips near the door and edge trim along the walls to cover the expansion gaps (you gotta leave a small gap around the edge for the wood to expand and contract).
Cleaned up all the sawdust. Stood back. Bounced the ball a few times. Felt good. Really solid underfoot, and definitely way better bounce than concrete. That slight cushioning from the underlayment? You can feel it. Not super springy like a pro court, obviously, but kinder on the joints.
Overall? It was work. Took me a solid weekend, maybe a bit more with the prep and cleanup. Would I do it again? Yeah, probably. The result is pretty satisfying. It transformed a dingy garage space into something usable and, honestly, kinda cool. It feels durable, being solid wood. Let’s just hope my ‘fix’ for that dip in the floor holds okay.


