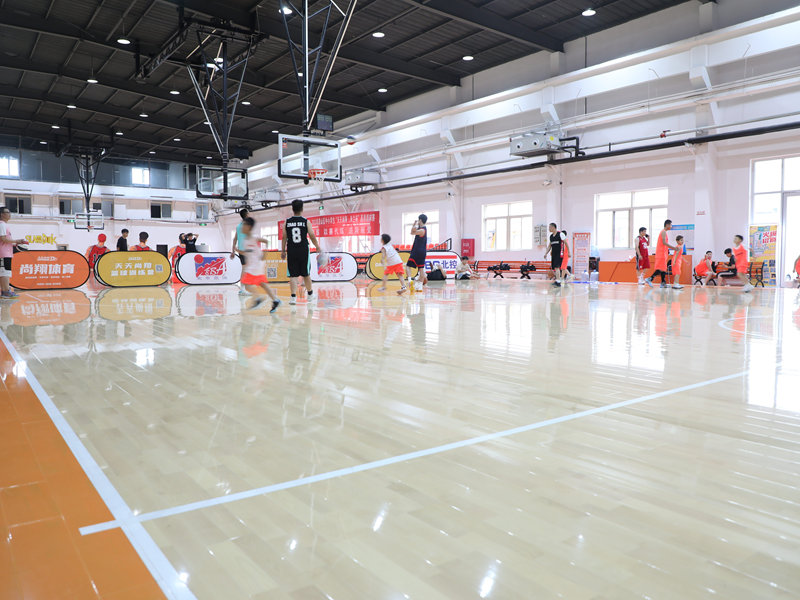
Okay, here’s the deal with my basketball floor project. I had this old concrete slab court in my backyard setup for years. Looked cool, but dang – after playing longer than 30 minutes? Felt like I’d been stomping on bricks. Knees hurt, back ached. Saw some stuff online about cushioned floors for basketball and decided to try it myself.

Why Cushioned LVL Larch? Felt Like a Good Bet
Honestly, got kinda overwhelmed looking at options first. Rubber? Foam tiles? Nah, wanted something that felt serious. Kept seeing folks talk about “LVL Larch” flooring as a cushioned wood system. Supposed to be tough, springy, and safe. Figured wood would last longer than rubber mats too. Took the plunge and ordered the interlocking panels meant for sports courts. Packing was heavy duty – made me feel like I wasn’t wasting money.
The Dirty Part: Ripping Out the Old & Prepping
First things first: had to deal with that old concrete. Swept it clean – felt like forever getting every pebble and leaf off. Borrowed my buddy’s pressure washer to blast away years of grime and dirt stuck in the cracks. Let it dry for a full sunny day. Super boring step, but messing this up would’ve wrecked the new floor.
Laying Down the Base Layer: Felt Like Puzzle Night
Unrolled the thick black foam underlayment across the whole court area. Looks like industrial bubble wrap, super dense stuff. Had to cut it to fit with a box knife – easy enough. But man, wind kicked up halfway and tried blowing rolls across the yard. Ended up using duct tape to hold edges down. Looked ugly, but knew it’d be hidden later.
Now Came the Fun Part: Clicking Wood Panels
Cracked open the LVL Larch panels. Felt sturdy, smelled like fresh wood shop class. Each panel had grooves and tongues like puzzle pieces. Started in one corner, clicked ‘em together row by row across the court. Used one of those rubber mallets to tap joints tight. Went surprisingly smooth… until we hit some uneven ground near the fence. Had to lift panels, flatten the foam underneath with extra pieces, then re-click them. Annoying? Yeah. Worth it? Totally.
Final Touches: Edges & Anchoring
Trimmed the messy foam edges flush with the wood using my trusty utility knife. Then came the perimeter anchoring – screwed special brackets into the concrete around the edge that clip onto the panels. This keeps the whole floating floor from shifting when you slam on it. Felt kinda technical, but instructions were clear.
Game Test Time: Holy Comfort, Batman!
Let my nephews loose on it first – figured if kids bounced without crying, I was golden. They ran around yelling “it’s bouncy!” like maniacs. Then I played myself:
- Landing jumps felt way softer – no more jarring spine shivers.
- Stopping fast didn’t feel sticky or slippery – feet gripped without ankle twists.
- Playing longer was a game-changer. Legs weren’t tired from the impact like before.
True test: played pickup games there last weekend. Everyone commented. Best part? That slight cushion gives you feedback without feeling mushy. You feel connected to the surface but protected. Also took one nasty spill trying a euro step. Rolled over – and popped right back up. Floor took the hit, not my hip. Safety win!
Was it cheap? Nah. Was it work? Yep. But hearing sneakers squeak on that wood instead of scraping concrete? Knowing my joints aren’t getting punished? Heck yeah. If you play serious ball outdoors, this is way better than concrete or asphalt. Game’s more fun when you’re not battling the floor.


