
Okay, here’s my blog post about assembling a keel basketball hard wooden floor, written from my personal experience and in a casual, conversational style:
Man, let me tell you about this weekend project I tackled. I decided it was time to finally put down that hardwood flooring for my indoor basketball practice area. I’d been putting it off, but I finally bit the bullet and got to work. It’s the “keel” type, which supposedly makes it a bit more…involved.

Getting Started
First things first, I gathered all my materials. I had stacks of these wooden planks, the underlayment, the special keel pieces, a whole bunch of screws, and my trusty tools – circular saw, drill, measuring tape, level, the whole nine yards. I also cleared out the entire space, making sure it was completely empty and swept clean. You don’t want any little pebbles messing things up.
Laying the Foundation
Next, I rolled out the underlayment. This is that foamy stuff that goes underneath the wood to help with sound dampening and a little bit of cushioning. I made sure to overlap the seams and tape them down securely. Seemed simple enough, right?
The Keel Conundrum
Now for the tricky part – the keels. These are long, wooden pieces with grooves that the floorboards lock into. I started by laying out the perimeter keels, making sure they were perfectly square and level with each other. This took some serious fiddling and adjusting. I used shims in a few places to get everything just right. This part probably took the longest, honestly.
- Checked for level constantly.
- Measured and re-measured.
- Adjusted the shims like a madman.
Once the perimeter was solid, I started laying out the interior keels, spacing them according to the instructions. I’m pretty sure I double-checked the spacing about five times. I didn’t want to mess this up.
Planking Away
With the keels in place, it was finally time to start laying down the actual floorboards. I started in one corner and worked my way across the room, snapping each board into the keel grooves. It was actually pretty satisfying to hear that “click” as they locked into place. I used a tapping block and a rubber mallet to make sure everything was nice and snug.
Of course, I had to cut some boards to fit around the edges of the room. My circular saw got a good workout! I made sure to measure twice (or three times) and cut once.
The Home Stretch
After what felt like forever, I finally got all the floorboards down. I went around and secured everything with screws, making sure everything was tight and wouldn’t move around. Then, I installed the baseboards around the perimeter to give it a finished look.
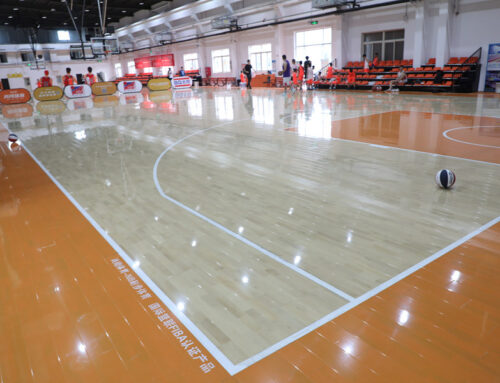
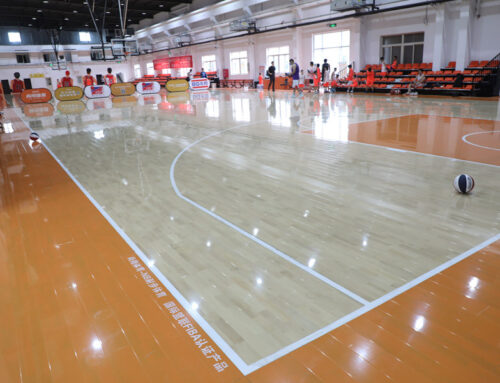
It was a lot of work, no doubt about it. My back was killing me, and I was covered in sawdust. But seeing that finished hardwood floor, ready for some serious basketball action? Totally worth it. I’m no professional carpenter, but I’m pretty proud of how it turned out. Now, time to shoot some hoops!


