
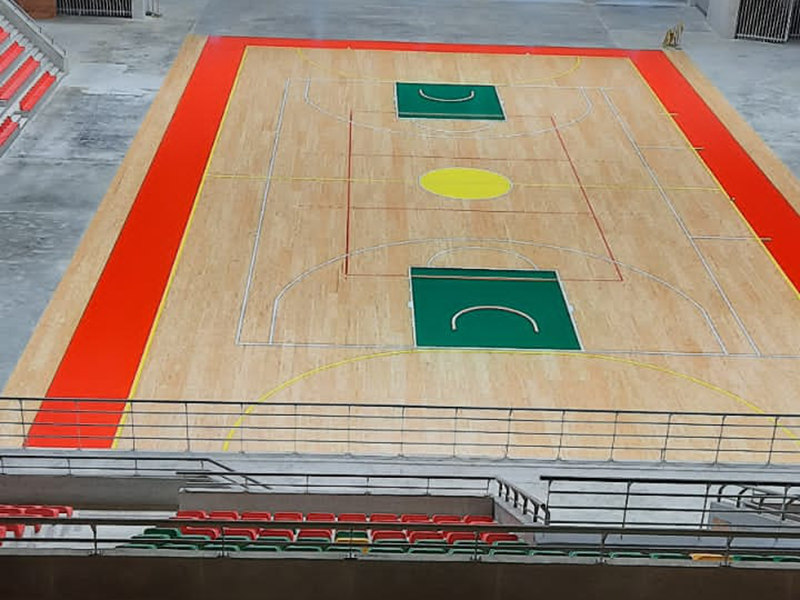
Okay, so I wanted to share how I put together this basketball floor recently. It was quite the project, using birch wood and those special cushions underneath. Here’s how it all went down.
Getting Started
First off, getting all the materials together was step one. I decided on birch for the wooden flooring part because it looks great and is pretty tough, good for a basketball area, you know? And definitely needed those cushions underneath – makes a huge difference for impact, way better on the knees. Had everything delivered, big stack of birch planks and rolls of the cushion padding.
Prepping the Area
Before anything else, the existing floor needed a good clean. Swept it, vacuumed it, made sure it was totally level and dry. You really don’t want bumps or moisture messing things up later. I laid out the birch planks nearby so they could get used to the room temperature for a day or two. Also checked the cushion rolls to make sure they were all good.
Laying the Cushions
Alright, time for the cushion part. This was pretty straightforward. I started rolling out the cushion material across the floor. Made sure the edges were tight against each other, no big gaps. Taped the seams together so nothing would shift around when I started putting the wood down. This layer is super important for that ‘bounce’ and comfort you want on a basketball court.
The Wooden Flooring Assembly
Now for the main event – the birch assembly. This took the most time. I started along the longest wall, like they usually suggest. Laid down the first row of wooden flooring planks, making sure they were perfectly straight. These birch planks usually have a tongue-and-groove system, so they kinda click together.
- I’d place one plank down.
- Slide the next one in at an angle, into the groove of the first one.
- Gently tap it down and into place. Used a little rubber mallet sometimes to make sure it was snug.
- Staggered the joints between rows, you know, so it looks better and is stronger. Like laying bricks.
Working row by row across the room. Cutting planks for the ends of rows was a bit tricky, measured twice (sometimes three times!) and cut once. Had to leave a little gap around the edges of the room for the wood to expand, covered that later with trim.
Finishing Up
Once all the main flooring was down, it felt solid. The combination of the cushions underneath and the sturdy birch wood felt just right. The final step was adding the baseboards or trim around the edges to cover up that expansion gap. Made it look really neat and professional.
Honestly, seeing the finished wooden flooring, all smooth birch, ready for some basketball action, was super satisfying. It took some effort, especially the assembly part, getting everything lined up, but totally worth it. The feel underfoot with those cushions is just fantastic. A proper little court, built piece by piece.


