
Okay, here’s my blog post about my recent experience assembling a basketball court using LVL plywood:
Man, what a project! I finally got around to putting together that LVL basketball plywood flooring I’d been planning for ages. You know, the one for my backyard “sports complex” (aka, the slightly-larger-than-average concrete slab). I wanted something that felt solid, looked good, and wouldn’t warp the first time it rained. LVL seemed like the way to go, supposedly it’s tougher than regular plywood.
Getting Started
First things first, I had to clear the area. That meant moving the old, rusty basketball hoop, the kids’ bikes, and a whole bunch of random stuff that had accumulated. I even had to power wash the concrete to get it nice and clean. That was a workout in itself!
Then came the delivery. Holy cow, those LVL sheets are heavy! I had to get a buddy to help me unload them. We stacked them carefully, making sure they were covered with a tarp, just in case the weather turned bad.
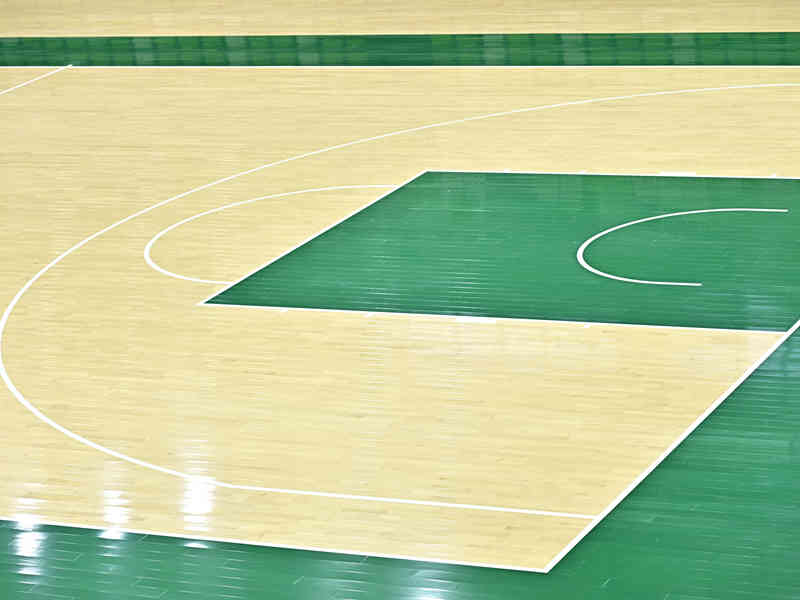
The Assembly Process
Okay, so the instructions were… well, let’s just say they weren’t the clearest. I ended up watching a few videos online, just to make sure I was doing it right. The basic idea is to lay down a vapor barrier first, then some kind of padding (I used some thick rubber mats I found), and then the LVL panels on top.
- Vapor Barrier: This was pretty straightforward, just rolling it out and taping the seams.
- Padding: Cutting the rubber mats to size was a bit of a pain, but manageable.
- LVL Panels: This is where it got tricky. These panels are designed to interlock, like a giant jigsaw puzzle. Getting the first few lined up perfectly was crucial, otherwise, the whole thing would be off.
We used a rubber mallet to tap the panels together, making sure the seams were nice and tight. It was slow going, and my back was definitely feeling it. We had to take a few breaks to stretch and, you know, hydrate (with beer, mostly).
Almost There!
Once the panels were all down, it actually looked like a basketball court! I was pretty stoked. The next step was to screw down the edges to keep everything secure. I used some heavy-duty wood screws, making sure they were countersunk so nobody would trip over them.
Finishing Touches
Finally, I added some edging around the perimeter, just to give it a more finished look. I also painted the lines for the basketball court – free throw line, three-point line, the whole deal. That took some patience and a steady hand, but I’m pretty happy with how it turned out.
It took me a whole weekend, from morning till night to get it all done! Man! I was exhousted!
The kids have already been out there shooting hoops, and they love it. It feels really solid underfoot, and it’s a huge improvement over playing on bare concrete. All in all, I’d say it was a successful project, even if my muscles are still screaming at me.


