
Okay, here’s my blog post about assembling a keel basketball hard wooden floor, written from a personal, hands-on perspective, and formatted as requested:
So, I decided to take on a pretty big project – installing a keel basketball hard wooden floor in my home gym. Yeah, I know, it sounds ambitious, and believe me, it was! But I’m a hands-on kind of guy, and I love a good challenge (and saving some money by doing it myself).

Getting Started
First things first, I cleared out the entire space. This wasn’t just about moving a few weights; I had to take everything out, leaving a completely bare concrete subfloor. Then came the cleaning – sweeping, vacuuming, and even mopping the concrete to make sure it was spotless. Any debris left behind could cause problems later.
The Keel System
The “keel” part of this floor is basically a substructure that creates airflow and gives the floor some bounce. It’s not just laying wood directly on concrete. I chose to use a system, it took forever, but it’s the most important part. I started laying down these long, pieces, making sure they were level. This part took some patience and a lot of checking with my level.
- I got all of my stuff delivered. Big heavy boxes and loads of wooden stuff.
- Unloaded everything piece by piece.
- Placed them into the room.
Laying the Floor
Once the keel was in place and solid, it was time for the actual wooden flooring. This was the fun part (well, sort of). I started in one corner, carefully placing each board and making sure it fit snugly against the previous one. Used a rubber mallet, and a lot of tapping to get everything tight. There were a few that i had to get out and replace.
I worked my way across the room, row by row. It was slow going, and my knees definitely felt it by the end of each day. I had to make some cuts around the edges of the room, which I did with a circular saw (safety glasses on, of course!).
Finishing Touches
After all the boards were down, I went to town. I used a small amount to fill any tiny gaps between the boards. Then, I put on a couple of coats, letting it dry completely between each coat.
Finally, I added the finishing touches – I marked out the lines with tape.
- Put down the tape, making sure it’s straight is a real pain.
- Double, triple checked all the measurements.
- Carefully applied the paint.
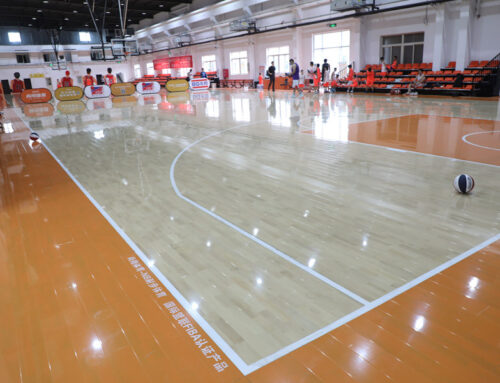
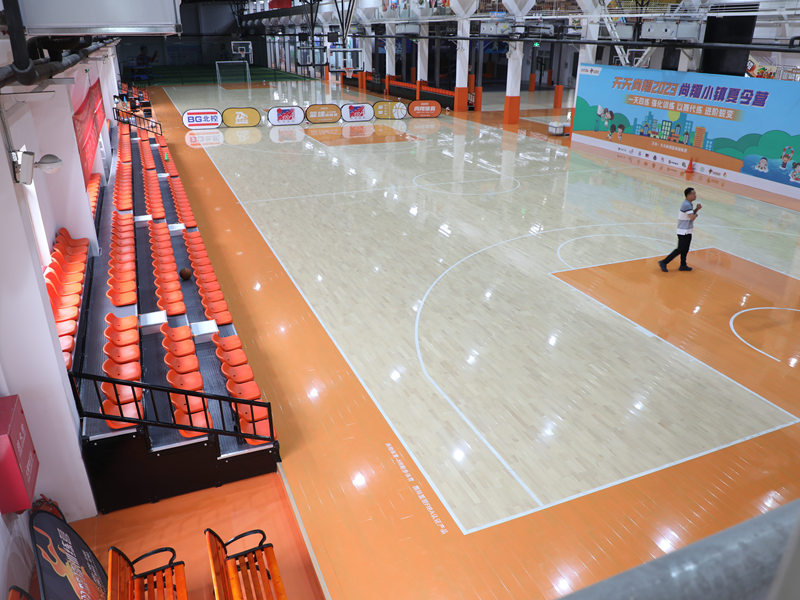
The Result
It took a good few weekends, and a lot of sweat, but I finally finished! Seeing that finished, gleaming wooden floor was incredibly satisfying. It’s not perfect – there are a few little imperfections here and there – but it’s mine. I built it, and that’s a pretty cool feeling. Plus, now I have an awesome basketball court right in my own home. Time to shoot some hoops!


