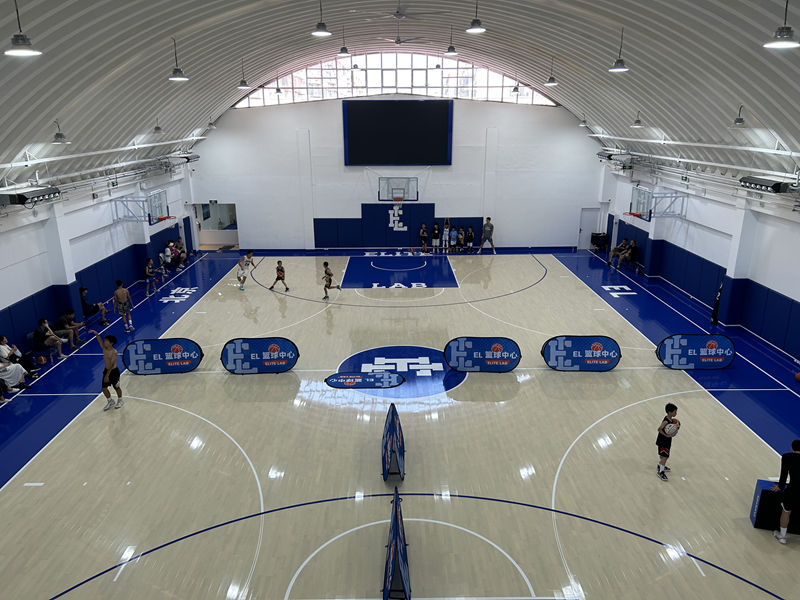
Getting Started
First I measured the court space with my old tape measure. That rusty thing almost snapped twice! Had to mark where each floor panel would go using chalk lines. Messed up twice because my neighbor’s dog kept jumping on me – had to start over both times after wiping off the chalk.

Gathering Materials
Dug through my messy garage for the engineered boards I ordered last month. Found half hidden under bicycles and the other half covered in garden tools. Spent 20 minutes just wiping dirt off them with a damp rag. Then realized I was short three panels – had to drive back to the hardware store.
Setting Up Posts
Used my trusty post hole digger to make holes for support beams. My back started screaming after digging the third hole. Mixed concrete in a wheelbarrow that kept tipping over – spilled half of batch #1. While waiting for concrete to dry, my kids “decorated” it with handprints. Had to smooth over their artwork before it hardened.
Tools that saved my butt:
- Rubber mallet that wouldn’t dent boards
- Impact driver from my brother-in-law
- Shims for when the ground wasn’t level
Board Installation Drama
When laying the first row, noticed gaps between panels wider than my thumb. Forgot to account for wood swelling in humidity! Had to unbolt everything and start again leaving 1/4 inch gaps. Dropped a wrench straight through a brand new panel – now there’s this random hole near the service line I filled with wood filler.
Finishing Touches
Added anti-slip coating last night. Didn’t notice rain clouds rolling in. Half the court got soaked before drying – now one side feels slightly grittier than the other. But hey, you know what? When the neighborhood kids tested it this morning, nobody slipped during their crazy dives. That volleyball is staying put now!


