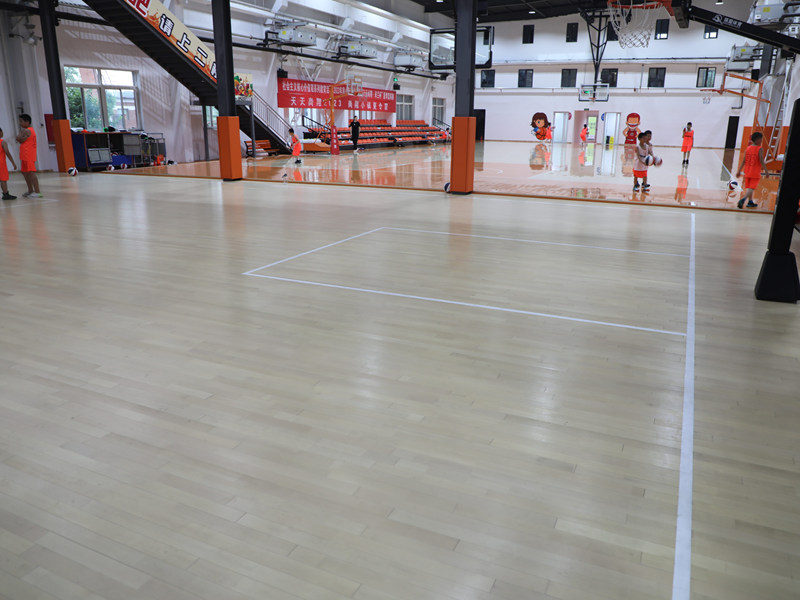
Alright team, been ages since I messed with proper indoor volleyball court setup, but this client really wanted that authentic wood feel on a budget. So we went with birch planks – decent look, supposed to be tough. Figured I’d document the chaos, ha! Buckle up.

Gear Grab & Initial Head-Scratcher
First thing Monday, hauled the flat-pack birch flooring kits to the community hall gym. Boxes felt heavier than expected, but whatever. Cracked ’em open expecting smooth sailing. Wrong. The locking mechanisms on these planks? Totally different from the diagrams online. Just. Wouldn’t. Work. Ended up flipping pieces every which way, grumbling louder than the hall radiator. Spent a good hour just dry-fitting a tiny corner, feeling like a chump. Almost chucked the whole lot back in the van.
Had to step back, breathe, actually look at the dang instruction sheet again (buried under bubble wrap, naturally). Realized I missed the tiny arrows printed on the tongue edge. Crucial!
Okay, Let’s Actually Try Assembly
Started properly this time. Laid out the vapor barrier first – big plastic sheet, taped the seams with that nasty gaffer tape. Then rolled out the foam underlay, kinda like thick picnic paper. Stuff creased if you stared at it wrong.
- Plank #1: Slammed it into the corner, nice and snug against the walls. Felt good!
- Plank #2: This is where the “fixed assembly” thing kicked in. Had to angle it just right near the end – maybe 30 degrees down – then slowly drop it level.
- Heard it click? Barely! More like a faint tick. Needed to get down on my knees, eyeball it, push hard along the joint with my hands. Annoying!
Learned quick: if the click wasn’t solid, the next plank wouldn’t lock in. Backtrack city. Did a whole row like this, crawling around, shoulders aching.
The Middle Maze & Trimming Trouble
Got the hang of it for the main court area. Still tedious though. Each plank needed that careful angle-down-then-drop maneuver. Knees were toast by lunchtime. Then hit the tricky bit near the far wall – needed to trim the last plank in each row. Measured twice (okay, maybe thrice), marked my cut line.
Pulled out the trusty jigsaw… remembered halfway the blade was meant for metal. Smooth move. Swapped it for a wood blade, still chattered like crazy on the birch. Edge looked chewed. Thankfully the wall trim covers that sin later.
Finishing Touches & Reality Check
Took me most of Tuesday just to lay everything. Finally popped in those transition strips around the edges. They snap onto the planks? Supposed to. Mine needed persuading with a rubber mallet. Gave ’em a few solid whumps. Done!
Stepped back. Looks decent! Nice honey-brown finish. Client popped by, thrilled. But here’s the real talk: “Fixed” assembly sounds rigid, but actually needs a gentle hand and stupid patience. And power saws? Scary on this stuff unless you know exactly what you’re doing. Took way longer than expected, back’s complaining today. Still, seeing the team run drills on it yesterday? Yeah, that felt good. It’ll do the job… just hope those click locks hold up to spikes!


