
Okay, let me tell you about putting down this basketball floor. It was quite the project, took a good chunk of time, but totally worth it in the end.
Getting Started – The Prep Work
First thing was clearing out the space completely. Had to make sure the base floor, the concrete slab in my case, was super clean and level. Spent a whole day just sweeping, scraping off some old gunk, and checking levels. You really don’t want any bumps or dips messing things up later.
Then came the materials. Got stacks of pine wood planks delivered. Nice long pieces, smelled great, that fresh wood smell. And of course, the key part for a basketball floor – the cushions. These weren’t like sofa cushions, obviously. They were these special rubber pads, kind of dense but bouncy. They came in rolls or sheets, can’t quite recall which now, but there was a lot of it.
Laying Down the Bounce
Next up was putting down that cushion layer. We rolled out some kind of underlayment first, like a thin foam sheet, maybe for moisture or something. Then came placing those rubber cushion pads. We had to lay them out evenly across the whole floor. It wasn’t super hard, but making sure they were all tight against each other and covered everything took some patience. This is the part that gives the floor that slight give, supposed to be easier on the knees when you’re playing.
On top of the cushions, we put down a layer of plywood sheets. Sort of like building a solid deck floating on top of those rubber pads. Screwed the plywood down into wooden battens that were integrated with or laid over the cushion system. This gave us a solid, flat surface to actually nail the pine flooring onto. Felt sturdy walking on it at this stage.
The Pine Wood Goes Down
Alright, the main event: assembling the wooden flooring itself. This was where the real work started. We chose pine, good solid wood. We started along the longest wall, laying the first row of pine planks down, making sure it was perfectly straight. These things usually have a tongue on one side and a groove on the other, so they slot together.
It was a process: lay a plank, tap it into place against the previous one with a rubber mallet, then nail it down through the tongue so the next board hides the nails. We used a flooring nailer, which made it way faster than doing it by hand, but still, it’s repetitive work. Kneeling, measuring, cutting the end pieces for each row, nailing… over and over.
- Measure twice, cut once – learned that the hard way on a couple of pieces!
- Keeping the gaps between boards consistent was tricky sometimes.
- Lots of sawdust everywhere.
Took a few days just to get all the pine down. My back and knees were definitely feeling it. But seeing the raw wood floor take shape row by row was pretty cool.
Finishing Touches
Once all the pine was assembled, it looked like a proper floor, but it wasn’t finished. It needed sanding. Rented a big floor sander – man, those things are beasts to handle. Went over the whole floor multiple times with different grits of sandpaper, getting it super smooth. More dust, everywhere!
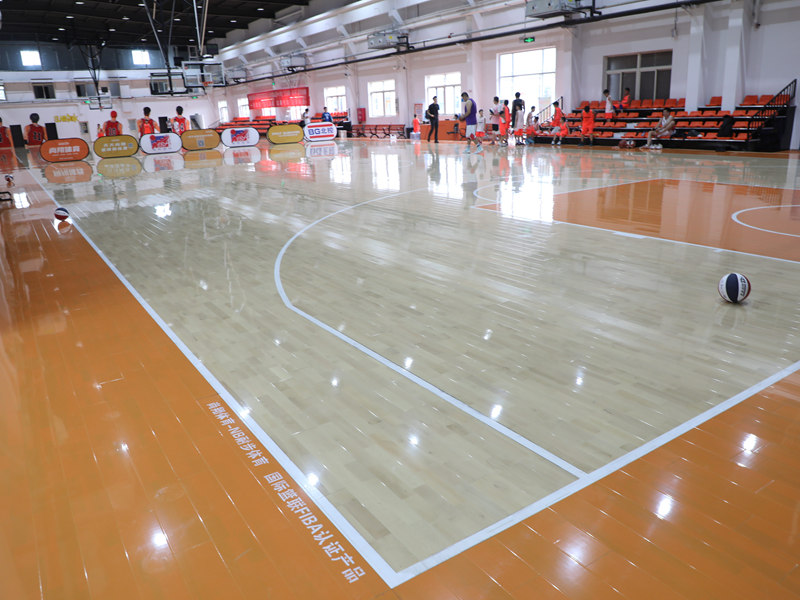
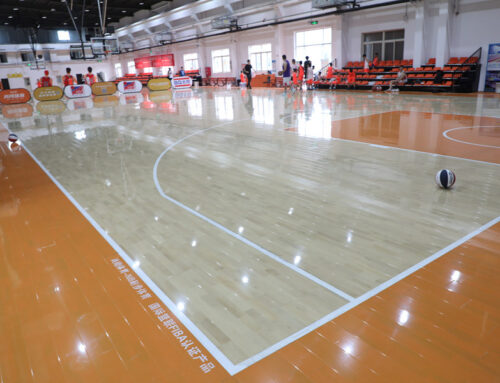
After a thorough cleaning to get rid of all the sanding dust, it was time for the finish. We applied several coats of a clear sealant, the kind they use for sports floors. This protects the wood and gives it that slight sheen you see on basketball courts. Had to let each coat dry properly, so more waiting involved. But this step really brought out the beauty of the pine grain.
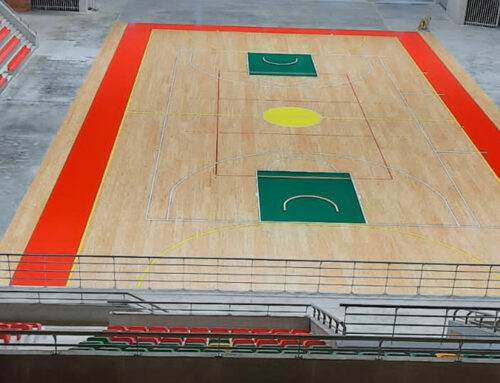
We didn’t paint full court lines this time, just wanted the wood floor itself done right. Maybe lines later.
All Done!
And that was basically it. Standing back and looking at the finished pine assembly, the whole wooden floor just gleaming… felt pretty darn good. It’s got that nice solid feel underfoot but with a subtle spring from the cushions underneath. A ton of work, yeah, but doing it yourself and seeing the result? Can’t beat that feeling. Ready for some hoops now!


