
Okay, so I wanted to put down some new wooden flooring in my spare room. It’s been carpeted forever, and I just wanted a change. I’ve seen some cool dance videos online and thought, “Hey, that’d be a fun space to mess around in.” But, you know, carpet and smooth moves don’t really mix.
First things first, I had to rip up that old carpet. Man, that was dusty! Underneath, I found the concrete subfloor. Not exactly dance-floor ready.
I did some digging around (online, of course!), and it seemed like I needed some kind of support structure under the wood – a sleeper system, they called it. And since I was aiming for a bit of “bounce” for dancing, I learned about “keel dancing sleepers.” Apparently, the way they’re built gives the floor a bit more give.
So, I grabbed a bunch of 2x4s from the home improvement store – these were going to be my sleepers. I also got some construction adhesive and these special rubber pads. The pads go under the sleepers to help with that bouncy feel and also to dampen sound (didn’t want to drive the neighbors crazy!).
The Build
Step 1: Clean Up! I swept and vacuumed that concrete floor like crazy. Any little bits of debris can mess things up later.
Step 2: Layout. I laid out the 2x4s across the floor, spacing them about 16 inches apart. This seemed to be the recommended spacing for decent support.
Step 3: Rubber Pads. I stuck those rubber pads to the bottom of each 2×4, spacing them out evenly. This was a bit tedious, but I figured it was worth it.
Step 4: Glue Down. I ran a bead of construction adhesive along the bottom of each 2×4 (on top of the rubber pads) and carefully placed them back down in their spots. I made sure they were all level and straight – used a long level for this.
Step 5: Weight it Down. This was the funny part. I basically piled anything heavy I could find onto the sleepers to keep them pressed down while the adhesive dried. Books, weights, even some old furniture – looked ridiculous, but it worked!
Step 6: Wait… I let the adhesive cure for a good 24 hours. Patience is not my strong suit, but I didn’t want to mess this up.
Step 7: Plywood. Once the sleepers were solid, I screwed down sheets of plywood on top. This created a nice, even surface for the actual wooden flooring.
- Make sure that your plywood is the right thickness.
- Leave small gaps for wood expansion.
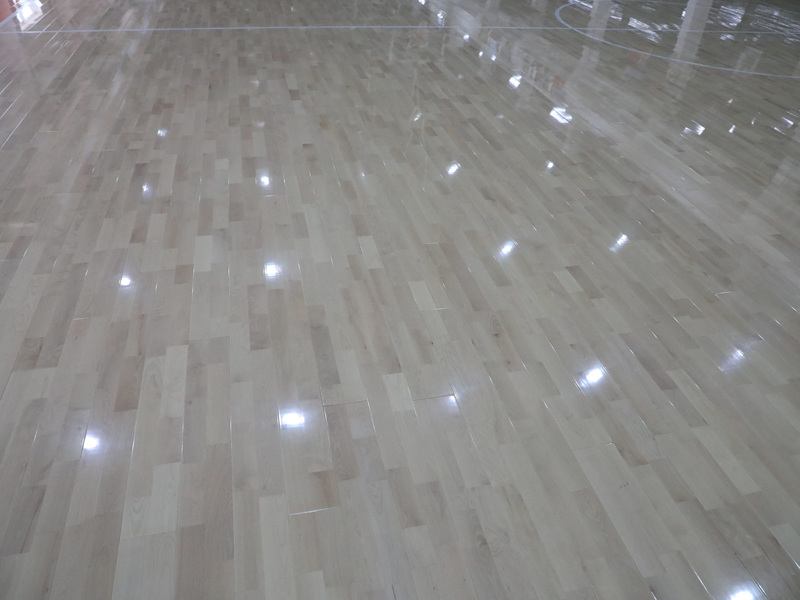
Step 8: The Pretty Part! Finally, I could start laying down the actual wooden floorboards. This part was actually kind of fun – seeing it all come together.
It took a few weekends, but man, it was worth it! The floor has just the right amount of give for dancing, and it looks amazing. Now, if only my dance moves were as good as the floor…


