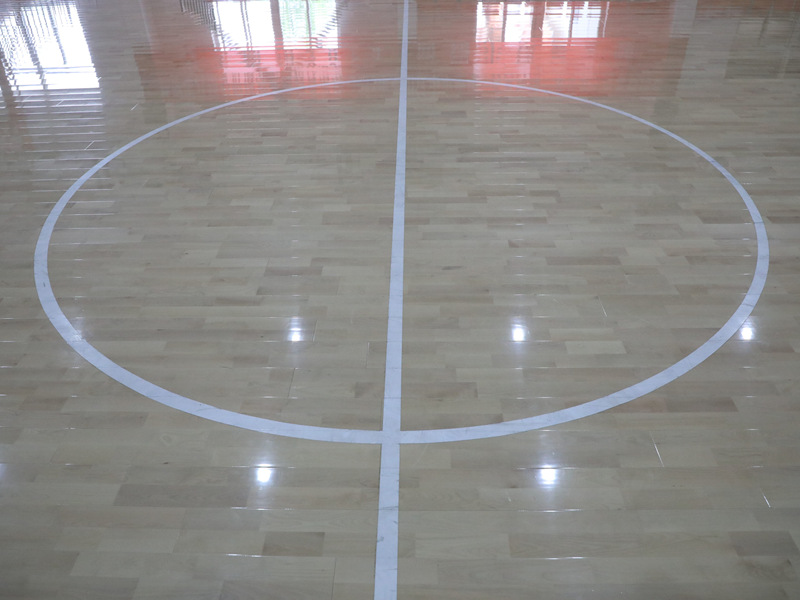
Okay, so I’ve been wanting to redo the flooring in my spare room for, like, forever. It had this old, nasty carpet that was just a magnet for dust and, honestly, who knows what else. I finally decided to go for it and picked out this batten dancing hard maple assembled wooden flooring. It looked so good in the pictures online, all sleek and modern.

Getting Started
First things first, I had to rip out that ancient carpet. Let me tell you, that was a workout! And dusty? You wouldn’t believe. Underneath, I found this old plywood subfloor. It was mostly in okay shape, but there were a few spots that were a little uneven.
So, next step, I got some self-leveling compound and patched up those low spots. I just poured it on, spread it around with a trowel, and let it dry. It did take longer to dry than I thought it would, probably because I was so impatient to get started on the actual flooring!
Laying the Floor
Once the subfloor was all prepped and level, I started with the underlayment. This stuff is basically like a thin foam sheet that helps cushion the floor and provides a little bit of soundproofing. I just rolled it out, cut it to size with a utility knife, and taped the seams together. Super easy.
Now for the fun part – the actual flooring! This stuff came in pre-assembled panels, which made things way easier than dealing with individual planks. They have these little grooves that kind of click together.
- I started in one corner of the room, making sure to leave a little gap between the flooring and the wall, you know, for expansion and contraction.
- Then, I just kept adding panels, clicking them together. Sometimes I needed to give them a little tap with a rubber mallet to get them to fit snugly.
- It took a while and my back did hurt.
The hardest part was probably cutting the panels to fit around doorways and corners. I used a jigsaw for that, and let’s just say my cuts weren’t exactly perfect. Thank goodness for baseboards, right? They hide a multitude of sins.
The Finished Product
After a couple of days of work, I finally got all the flooring laid down. The last step was to install the baseboards. I just used a nail gun for that, and it went pretty quickly. And boom! Done! I have to say, it looks amazing. The maple is so bright and clean, and it totally transforms the room. I’m so glad I finally tackled this project. Now, what’s next on the to-do list…?


