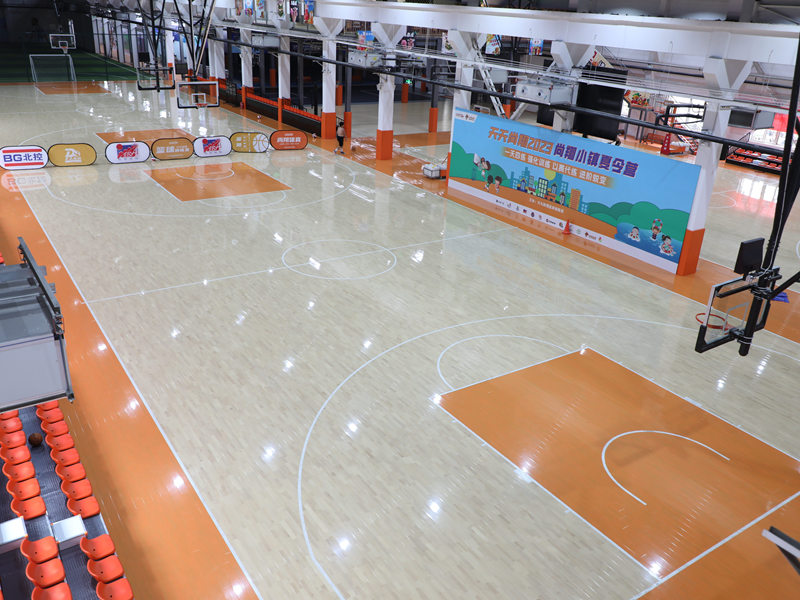
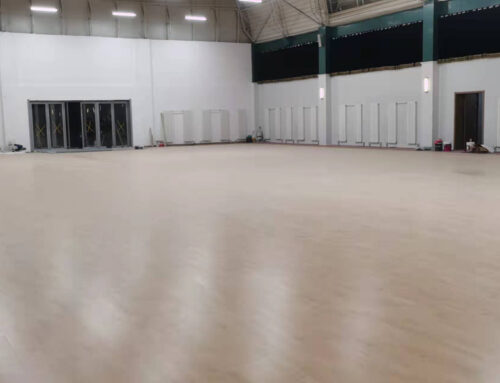
Alright, folks, gather ’round! Today, I’m diving into a project that’s been on my to-do list for ages: installing LVL dancing parquet assembled wooden flooring. Sounds fancy, huh? It’s basically just pre-assembled wooden floor tiles that create a cool, geometric pattern. Think of it like a giant, wooden jigsaw puzzle.

Getting Started
First things first, I cleared out the room. This is crucial, people! You need a blank canvas. I moved all the furniture, rolled up the old rug, and gave the subfloor a good sweep and vacuum. Any dust or debris left behind will mess with the installation, and nobody wants a bumpy dance floor.
Prepping the Subfloor
My subfloor is concrete, so I checked it for levelness. A few dips and bumps were apparent, nothing major. I grabbed some self-leveling compound and filled in the uneven spots. Patience is key here – I let it dry completely, following the instructions on the bucket. A level subfloor is the foundation of a good-looking (and good-feeling) finished product.
Acclimation
I stacked the boxes of flooring in the room, because the wood needs time to adjust to the room’s temperature and humidity.
Skipping it can cause the flooring is expand or contract that after installation, which will lead to gaps or buckling.
Laying Out the Pattern
This is where the fun began! These parquet tiles have a specific pattern, so I spent some time laying out a few rows without any adhesive, just to get a feel for it. I wanted to make sure the pattern flowed nicely and that I wouldn’t end up with any awkward cuts near the walls. I played around with the layout until I was happy with the overall look.
The Gluing Process
Okay, deep breaths. Time for the adhesive. I used a trowel to spread the recommended adhesive onto the subfloor, working in small sections. I pressed each tile firmly into the adhesive, making sure it was snug against its neighbors. Used spacers to ensure the consistent small gap,that is necessary for accommodating expansion and contraction.
This part was a bit messy, I won’t lie. I kept a damp rag handy to wipe up any excess adhesive that squeezed out between the tiles. Slow and steady wins the race, as they say. I took my time, making sure each tile was perfectly positioned before moving on.
Cutting the Tiles
Of course, I reached the edges of the room and needed to cut some tiles to fit. I used a jigsaw (a circular saw would work too) with a fine-tooth blade to make clean cuts. Measure twice, cut once – that’s my motto! I double-checked my measurements before making any cuts, because there’s nothing worse than ruining a perfectly good tile.
The Finishing Touches
Once all the tiles were down, I let the adhesive cure for the recommended time (usually 24-48 hours). I removed the spacers. I went over the entire floor, checking for any loose tiles or gaps. Everything looked solid!
For dance wood floor, I skipped sanding. I applied a couple of coats of polyurethane sealant. This protects the wood and gives it a nice, finished look.I made sure to apply it on a ventilated environment.
And that’s it! My new LVL dancing parquet floor is installed and ready for some serious moves (or, you know, just regular walking). It was a bit of work, but totally worth it. The room looks fantastic, and I learned a ton in the process. If you’re thinking in DIY this,go for it.


