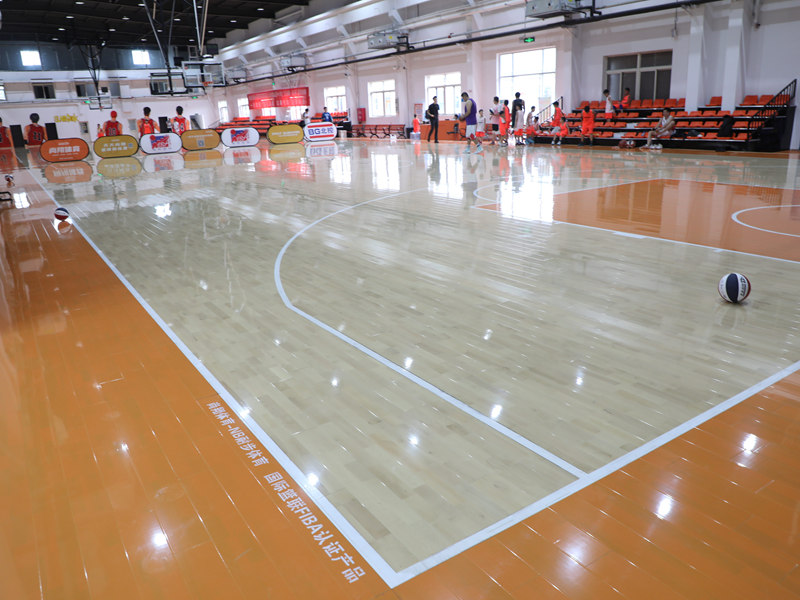
Okay, so today was the day I finally tackled that basketball court flooring project. You know, the one I’ve been putting off for like, ever? It’s for my kid’s practice area in the basement, nothing fancy, just something to keep them from destroying the concrete.

Prepping the Space
First things first, I cleared out the whole area. That meant moving all the junk that had accumulated down there – old boxes, forgotten sports equipment, you name it. Once the space was clear, I gave the concrete floor a good sweep and then vacuumed it to get rid of any dust and debris. We want a nice, clean surface for this project.
Laying Down the Battens
Next up were the battens. These are basically just strips of wood that create a framework for the flooring. They’re important because they provide a level surface and allow for some airflow underneath. I used some basic 2x4s. I used basic pressure-treated 2×4, I measured the area and cut the battens.
The 2×4 were palced parallel to each other at a distance of 400mm.
Then I laid them out on the floor, spacing them evenly apart. This took a bit of adjusting to get everything just right.
Securing the Battens
Once I was happy with the layout, it was time to secure the battens to the concrete. For this, I used concrete screws and a hammer drill. I drilled pilot holes through the battens and into the concrete, then drove in the screws. Make sure to sink the screws deep enough and check for any that were stripped or broken, replacing them as needed. It’s not rocket science, but you definitely need the right tools for this part.
Putting Down the Wooden Flooring
After these steps, the wooden floor were ready to put down.
First I check the specifications of the wood floor, and follow it’s steps to install.
I installed the first row of boards and continued to assemble row by row until the floor was done.
The Finishing Touches
With the flooring in place, it was time for the finishing touches. I went around the edges and installed some baseboard trim to cover the gaps. Finally, I gave the whole floor a good sweep and then checked again. All done!
Honestly, it was a bit more work than I anticipated, but it’s totally worth it. The kids are thrilled to have a proper space to practice, and I’m happy to have finally crossed this project off my list. Now, onto the next one…


