
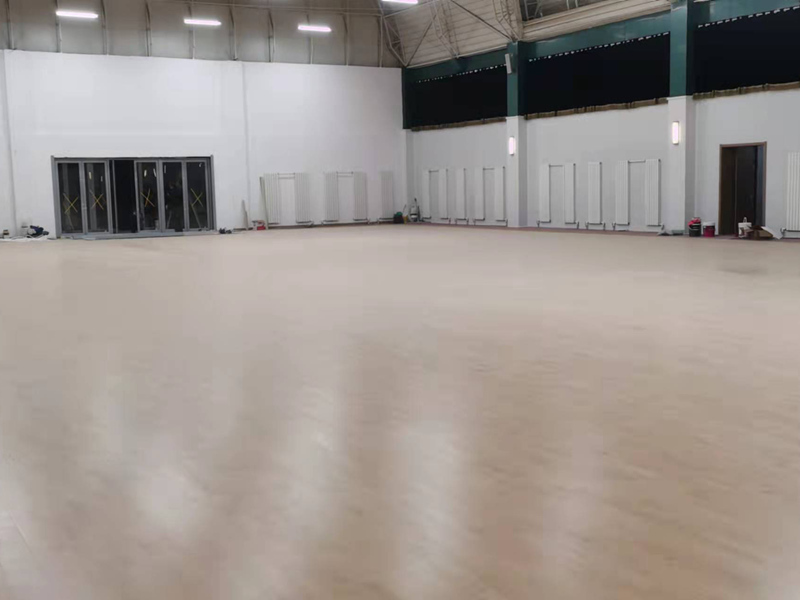
Alright, folks, let’s dive into this flooring project I tackled. The title kinda says it all – “cushions dancing beech assembled wooden flooring” – but let me break down how it all went down.
First, I gathered my materials. I’d already picked out this beautiful, light-colored beech wood. It’s got this warm, inviting vibe, you know? And the “dancing” part? That refers to the slight variations in the grain – makes it look lively, not flat and boring. The key here was getting “assembled” flooring, meaning the boards were already pre-finished and ready to lock together. I’ve done the whole sanding-and-staining thing before, and trust me, this is way easier.
Crucially, I chose to use cushions, that is underlayment. Because of the assemble-click characteristic, I picked a roll of foam underlayment. This stuff is amazing. It does a few things: smooths out minor imperfections in the subfloor, provides some sound insulation (great if you’ve got kids or live in an apartment), and, of course, adds a bit of “cushion” to the floor. Makes it feel nicer underfoot.
Prep Work – Don’t Skip This!
Before I even touched the flooring, I spent a good chunk of time prepping the room. This is where a lot of DIYers go wrong, I think. I cleared everything out, obviously, and then gave the existing floor (in my case, old linoleum) a super thorough cleaning. Any dust, dirt, or debris will mess with the underlayment and potentially cause problems down the line.
Next, I checked for any major unevenness. My floor was pretty good, but I did find a couple of low spots. I used some self-leveling compound to fill those in and let it dry completely. Patience is key here, people!
Laying the Underlayment
With the prep work done, roll out the underlayment. Cut off the excess with a utility knife. Some people tape the seams, but I didn’t find it necessary – the flooring itself will hold everything in place.
Click-Clack, Flooring’s Back!
Now for the fun part! I started in one corner of the room, laying the first row of planks along the longest wall. The “assembled” part of this flooring is where the magic happens. These planks have a tongue-and-groove system, so they literally just click together. A gentle tap with a rubber mallet, and snap – they’re locked in.
I kept working my way across the room, row by row. One important tip: stagger the joints between rows. Don’t have all the ends line up – it looks weird and weakens the floor. Think of it like laying bricks; you want to overlap them.
Whenever I reached a wall or an obstacle (like a doorway), I had to cut the planks to size. I used a simple jigsaw for this, but a circular saw would work too. Just measure carefully, and always err on the side of cutting it a little too long – you can always trim it down, but you can’t add wood back on!
- Measure the length you need.
- Mark the line on plank.
- Cut the plank carefully.
Finishing Touches
Once all the flooring was down, I installed baseboards around the perimeter of the room. This covers the gap between the flooring and the wall, and just gives it a nice, finished look. I used a miter saw to cut the baseboards at the corners – a bit tricky, but there are plenty of YouTube tutorials out there if you’re unsure.
And that’s it! My “cushions dancing beech assembled wooden flooring” was complete. It took me a weekend, working at a pretty relaxed pace. The result? A beautiful, comfortable floor that totally transformed the room. And the best part? I did it myself!


