
Okay so here’s how I tackled the gym floor resurfacing project. Honestly, it was way more involved than I initially thought, but kinda satisfying once done. Let me walk you through the messy process.

Spotting the Problem
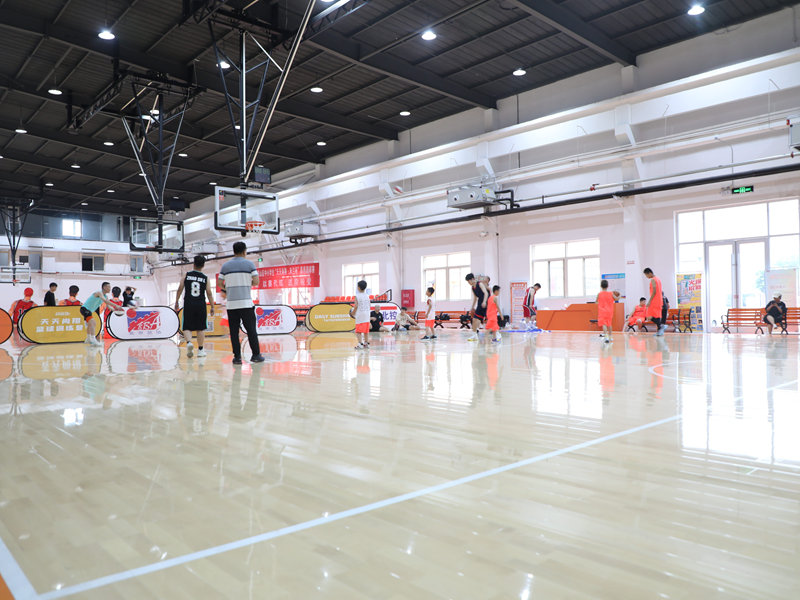
First off, I noticed the gym floor looking absolutely beat up. You couldn’t miss it. There were deep scratches everywhere from those darn weights getting dropped, whole sections looked faded and grey under the lights, and worst of all, the white lines had practically ghosted in a few spots. Made the whole place look neglected. Enough was enough.
Diving into Research Mode
Fired up the laptop and started digging. Learned real quick that gym floors usually get covered in this tough coating called polyurethane. Comes in oil-based and water-based types. Water-based dries faster, smells less awful, but maybe isn’t quite as bulletproof? Oil-based takes forever to cure and stinks to high heaven, but supposedly lasts longer. Watched a ton of videos. Looked kinda straightforward… famous last thoughts.
Making the Call and Buying Stuff
Went back to the actual floor. Did that scratch test thing with my fingernail – if it flakes off easily, bad news. Mine flaked like crazy. Knew it needed a full strip job, not just a light buff and recoat. Figured water-based poly was the smarter move – faster drying meant less downtime for the gym.
Hit the big box store:
- A big honkin’ drum of chemical floor stripper. Smelled like pure science experiment.
- Synthetic stripping pads for the buffing machine. These guys do the dirty work.
- Fine-grit sanding screens for sanding between coats? Yeah, apparently that’s a thing.
- Chemical-resistant gloves – learned real quick why these are non-negotiable after a tiny splatter burn on my wrist.
- A heavy-duty floor buffer rental. Tried using my small polisher first – useless.
- Two whole gallons of water-based polyurethane. More expensive than I’d hoped.
- Rollers, extension poles, buckets – the usual suspects.
- Duct tape and plastic sheeting to seal off the room. You do not want dust drifting everywhere.
Added up all the receipts later. My eyeballs almost fell out. Tools and stuff alone ran me $800+. And I hadn’t even thought about labor if I’d hired it out!
The Nasty Part: Stripping It Down
Put on a respirator, goggles, the whole hazmat suit vibe. Poured that stripper onto a small section, let it sit. Stuff turned gummy quick. Went at it with the big rented buffer wearing the synthetic pads. Let me tell you, it was like wrestling a greased pig. Buffer wanted to go everywhere but where I aimed. Chemical smell punched me right in the face, even with the respirator. Took ages to do the whole room, scraping up sticky gunk constantly. My back was screaming murder afterwards.
Sanding Down the Rough Spots
Floor looked like a battlefield after stripping – cloudy patches, rough bits. Needed smoothing before any new coating could go on. Got the big buffer again, swapped pads for those fine sanding screens. Sanded the entire floor lightly. Created a dust storm worthy of a desert. Thankful for the plastic sealing! Spent a good chunk of time sweeping and vacuuming like crazy, then wiped it all down with tack cloths. So. Much. Dust.
The Icing on the Cake: Putting on Poly
Finally, the payoff part. Started in the farthest corner, poured poly into the paint tray, used a roller on an extension pole. Learned fast to work in sections and keep a “wet edge” so the coats blended smoothly. Missed a spot? Disaster. Filled the bucket halfway to avoid it getting too heavy. Whole first coat took maybe an hour? Then the waiting game began. Let it dry for a solid 24 hours like the can said. Walked in the next day… saw dust nibs and teeny bubbles. Gritted my teeth.
Got back to it. Went over everything lightly with a fine sanding screen by hand this time. Just scuffed the surface. Swept and vacuumed obsessively. Wiped down with tack cloths again. Laid down the second coat exactly like the first. Made sure ventilation was good but no drafts blowing dust around. Left it alone for another full day to cure hard.
Aftermath and Reality Check
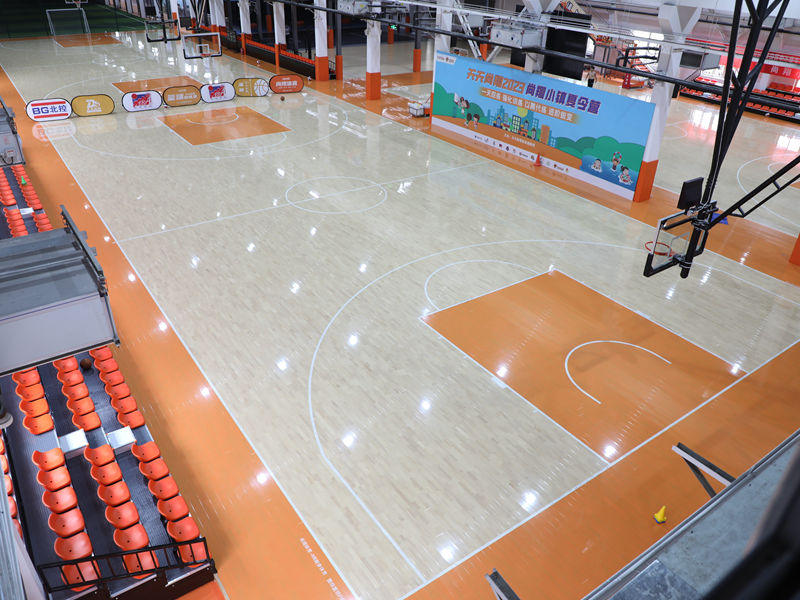
Peeled off the plastic and tape. Floor looked shiny, smooth, and deep – totally different from before. Scratches gone, lines visible again. Felt legitimately proud of the transformation.
But the cost? Oh man. That initial $800+ hurt. If I’d paid someone, I easily saw quotes ranging from $3,000 to $5,000+ floating around. Labor is brutal on this job, especially the stripping part.
Was it worth it? Honestly? As a DIY project, barely. The physical effort was insane, the fumes were horrible, and getting that finish flawless took way more patience than I knew I had. If the gym gets beat up again quick? I’ll probably grit my teeth and pay the pros. Doing the job showed me exactly why they charge so much. It’s brutal work.
Would I recommend DIY? Only if you’re stubborn as heck like me, have serious time on your hands, and genuinely enjoy punishment. Otherwise… save your back and your sanity, get some quotes!


