
Okay, so today I decided to get my hands dirty and install a keel basketball solid wooden flooring. It’s something I’ve wanted to do for a while, and I finally took the plunge. Let me tell you, it was a process!
First, I cleared out the entire space. Everything had to go. Furniture, rugs, the whole nine yards. This gave me a blank canvas to work with, which was essential.
Next up, I inspected the subfloor. It needed to be level, clean, and dry. I spent a good chunk of time making sure it was perfectly flat, using a leveling compound in a few spots. Any imperfections would have telegraphed through the finished floor, and nobody wants a wonky basketball court!
Then came the fun part – laying down the keel system.I placed the keels according to the plan.
With the keels secure, it was time for the stars of the show – the solid wood planks! I started in one corner, carefully fitting the first row. It was like a giant, beautiful puzzle. I used a mallet and tapping block to gently persuade the planks into place, making sure the tongues and grooves were snug.
Row after row, I worked my way across the room. I made sure to stagger the joints for a more natural look and added strength. It was slow going, but seeing the floor take shape was incredibly satisfying.
I continued, and it took me two days.
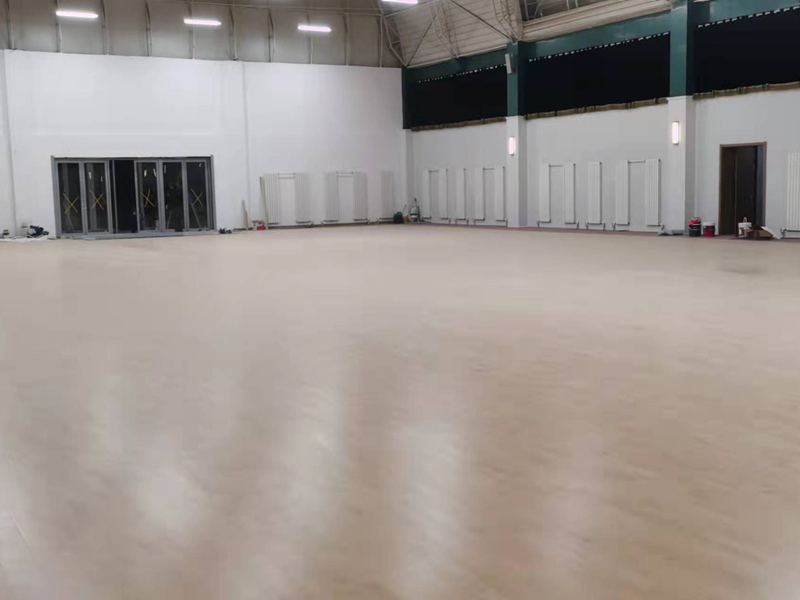
After the last plank was in, I gave the entire floor a thorough sanding. I started with a coarse grit and gradually worked my way up to a fine grit for a super smooth finish. This step took a while, but it was crucial for getting that professional look.
Finally, I applied several coats of polyurethane finish. This protected the wood and gave it a beautiful, durable sheen. I let each coat dry completely before applying the next, which meant a lot of waiting around. Patience is key!
And that’s it! My very own keel basketball solid wooden flooring. It was a challenging project, but totally worth the effort. Now, if you’ll excuse me, I’m going to go shoot some hoops!


