
Okay, here’s my blog post about my recent flooring project, written in a casual, personal style:
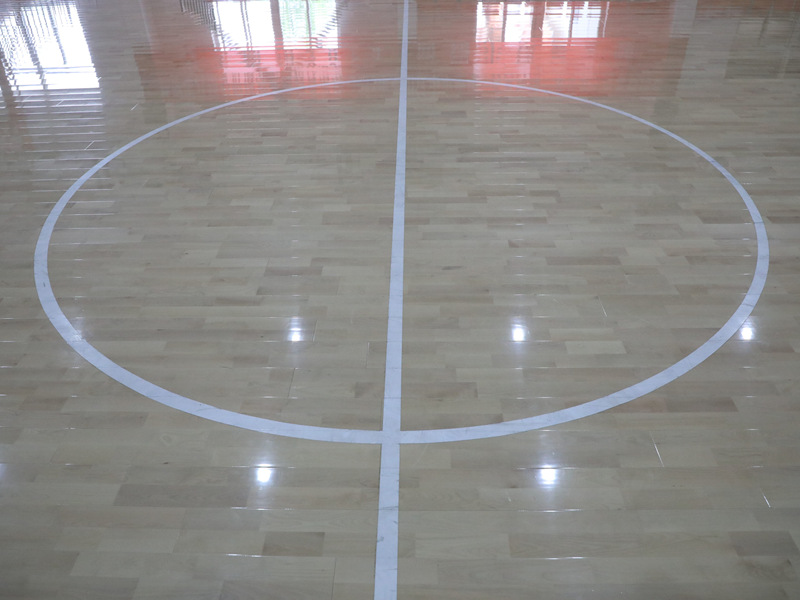
So, I’ve been wanting to redo the flooring in my spare room for, like, forever. It’s going to be a multi-purpose space – home gym, occasional guest room, maybe even a spot to practice my volleyball drills. That’s why I landed on this “batten volleyball hevea assembly wooden flooring” thing. It seemed like a good balance of durable, springy, and, well, not hideous.
The Prep Work (Ugh)
First things first, I cleared out the entire room. This involved a lot of heavy lifting and some serious Tetris-style maneuvering to get everything stashed in other parts of the house. Then came the really fun part: pulling up the old carpet and padding. Let me tell you, that stuff was nasty. Years of accumulated dust, pet hair (even though I don’t have pets!), and who-knows-what-else. I wore a mask, and I still felt like I was inhaling a small desert.
Once the carpet was gone, I discovered the subfloor was… less than perfect. Some uneven spots, a few cracks. Nothing major, but definitely needed addressing. I grabbed some self-leveling compound and spent a good afternoon pouring and smoothing it out. It was like making a giant, concrete pancake. I let that dry for a full 24 hours, just to be safe.
Batten Down the Hatches (Literally)
Next up, the battens! These are basically wooden strips that create a framework for the flooring. I measured the room (twice, because I’m paranoid) and calculated how many battens I needed, and how far apart they should be spaced. I got some construction adhesive to hold wooden strips. Then, it was time to get to work.
I laid down the first batten, made sure it was level (using a ridiculously long level, I might add), and then secured it to the subfloor. I repeated this process, row by row, until the whole room was covered in a grid of battens. It was surprisingly satisfying, like building a giant wooden puzzle.
Flooring Frenzy
Finally, the actual flooring! The hevea wood planks came pre-finished, which was a huge relief. I didn’t want to deal with sanding and staining on top of everything else. The assembly was pretty straightforward – the planks had a tongue-and-groove system, so they just clicked together. I started in one corner and, with a mallet, worked my way across the room, row by row.
There were a few tricky bits, like cutting planks to fit around doorways and corners. I used a jigsaw for that, and let’s just say my cuts weren’t perfect. But hey, that’s what trim is for, right? To hide all my little imperfections.
The Finishing Touches
Once all the flooring was down, I installed baseboards around the perimeter of the room. This really cleaned up the edges and gave it a polished look. I also added some transition strips where the new flooring met the existing flooring in the hallway.
And… that was it! I stood back and admired my handiwork. It wasn’t perfect, but it was mine. And it felt pretty darn good underfoot. I even bounced a volleyball on it a few times, just to test it out. Success!
It took longer, to be honest, the whole thing take almost 4 days to finish! But the result is satisfying!


