
Okay, here’s my blog post about the LVL Basketball pine assembly wooden flooring project, written in a casual, personal style:
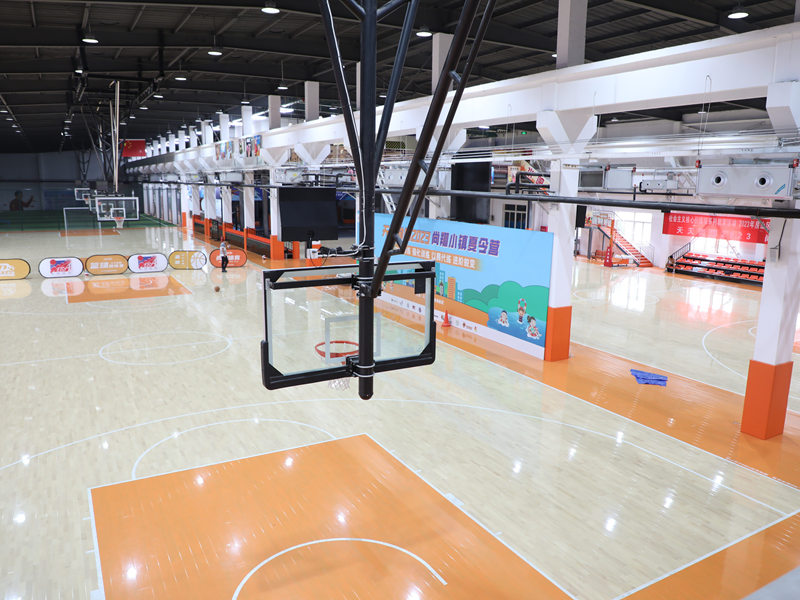
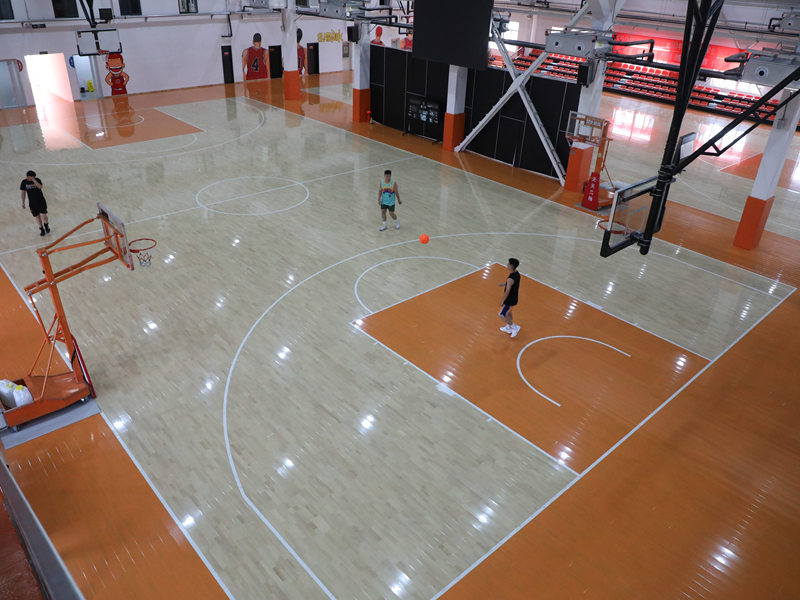
Alright, so I decided to tackle a pretty big project – installing new flooring in my makeshift home basketball court. I wanted something durable, looked decent, and wouldn’t totally break the bank. After a bunch of digging, I landed on LVL (Laminated Veneer Lumber) pine. It seemed like a good balance of strength and, well, it’s wood, so it’s got that classic look.

Getting Started
First things first, I had to clear out the old space. This was mostly just moving a ton of junk around – old workout equipment, boxes of who-knows-what, the usual garage chaos. I swept the concrete slab underneath a few times to get rid of all the dust and pebbles. Seriously, you don’t want any of that stuff trapped under your new floor.
The LVL Adventure
Next up, I got my hands on the LVL planks. I went to a local lumber yard, not one of those big box stores. I find you often get better advice (and sometimes better prices) at the smaller places. The guys there helped me figure out how much I needed, based on the square footage of my space. I also picked up some heavy-duty construction adhesive and the other tools, including a powerful nail gun.
Laying It Down
Laying down the first row was the trickiest. You gotta make sure it’s perfectly straight, because everything else builds off of that. I used a chalk line to mark a guideline on the concrete. Then, I applied a generous bead of adhesive to the back of the first plank and carefully set it in place. I used some spacers to keep a consistent gap between the planks and the wall – this is crucial for expansion and contraction.
After securing the first plank in place, it was time to use the heavy-duty nail gun. I put a few nails in the wood, and then moved on to the second plank.
- Measure and Cut: I had to measure and cut some planks to fit at the ends of the rows. A circular saw made quick work of this, but safety first! Always wear eye protection, folks.
- Glue and Press: I repeated the process – adhesive, press the plank into place (making sure it’s snug against the previous one), and nail down.
- Stagger the Joints: Just like with any flooring, you want to stagger the joints between rows. It looks better and adds to the structural integrity. I made sure no joints lined up directly.
Finishing Touches
Once all the LVL was down, I let the adhesive cure for a full 24 hours. The next day, I inspected everything, making sure there were no loose planks or gaps. I filled any small gaps with wood filler that matched the pine color.
I’m pretty stoked with how it turned out! It’s solid, looks great, and should hold up to some serious basketball action. It wasn’t a super quick project, but definitely doable for a DIYer with a bit of patience and the right tools. My total cost was way less than having a professional install something similar. Plus, I’ve got the satisfaction of knowing I did it myself!


