
Okay, here’s my attempt at a blog post, channeling that “down-to-earth, experienced blogger” vibe, about installing a keel volleyball hard maple portable wooden flooring:
Alright, folks, so I tackled a pretty big project recently – installing a portable wooden volleyball court. Yeah, the kind you see in professional games, but this one’s mine! It’s a keel system, made of hard maple, and let me tell you, it was a learning experience.
The Prep Work
First things first, I had to clear out a HUGE space. We’re talking a full-sized volleyball court, plus extra room to maneuver. I moved everything out, swept the concrete floor like crazy, and then laid down a vapor barrier. This plastic sheeting is super important, especially if you’re installing over concrete, it prevent the floor from getting wet.
Unpacking the Beast
The flooring arrived on a bunch of pallets. Seriously, it looked like enough wood to build a small house! Unpacking everything was a workout in itself. Each piece of maple was beautifully finished, but also pretty heavy. I organized everything by size and type – the main floor panels, the edge pieces, the keel supports… it was like a giant jigsaw puzzle.
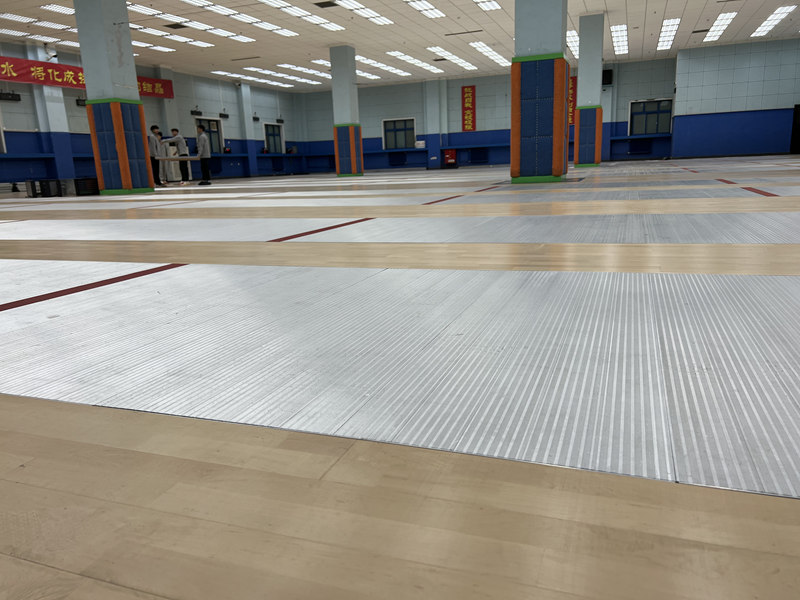
Laying the Keel
The keel system is the “skeleton” of the floor. These are long wooden supports that run underneath the floor panels, giving the court its bounce and stability. I started by laying out the perimeter keels, making sure they were perfectly square and level. This part was crucial – get this wrong, and the whole floor will be off.
I used a laser level (best tool purchase ever!) to check everything. Then, I filled in the rest of the keel grid, spacing them out according to the instructions. It was like building a little wooden railroad track.
Putting Down the Floor Panels
Once the keel was in place, it was time for the fun part – laying the actual floor panels. These panels interlock with each other, kind of like giant puzzle pieces. I started in one corner and worked my way across, row by row.
There’s a specific technique to this. You don’t just slam them together. I used a rubber mallet and a tapping block to gently tap each panel into place. It’s important to leave a small expansion gap around the edges of the entire floor, to allow for the wood to expand and contract with changes in humidity.
The Finishing Touches
After all the floor panels were down, I installed the edge pieces. These create a nice, finished edge around the court and help protect the floor from damage. I also added some transition strips where the wooden floor met the concrete, to prevent tripping.
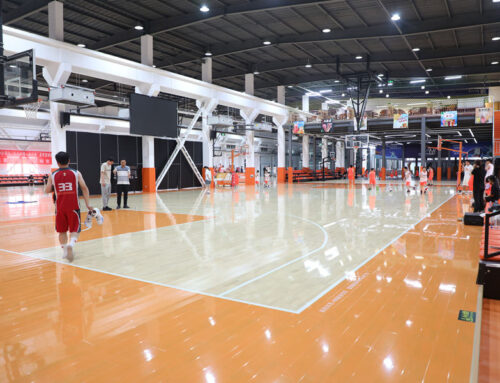
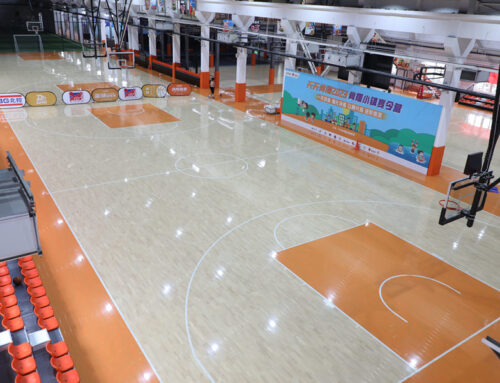
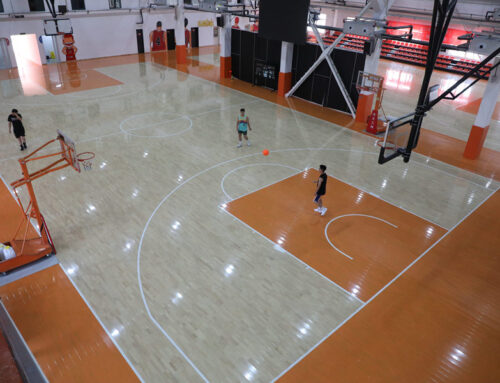
The Result
Honestly, it took several days of solid work, but the finished product is amazing. The court looks and feels incredible. The hard maple is smooth and beautiful, and the keel system gives it just the right amount of bounce. My first volleyball game on it was awesome! The ball bounced true, and it felt great underfoot.
Would I do it again? Maybe. It was a lot of work, but the satisfaction of building something like this with my own hands is pretty great. If you’re thinking about doing something similar, my advice is to do your research, take your time, and don’t be afraid to ask for help. And definitely invest in a good laser level!

