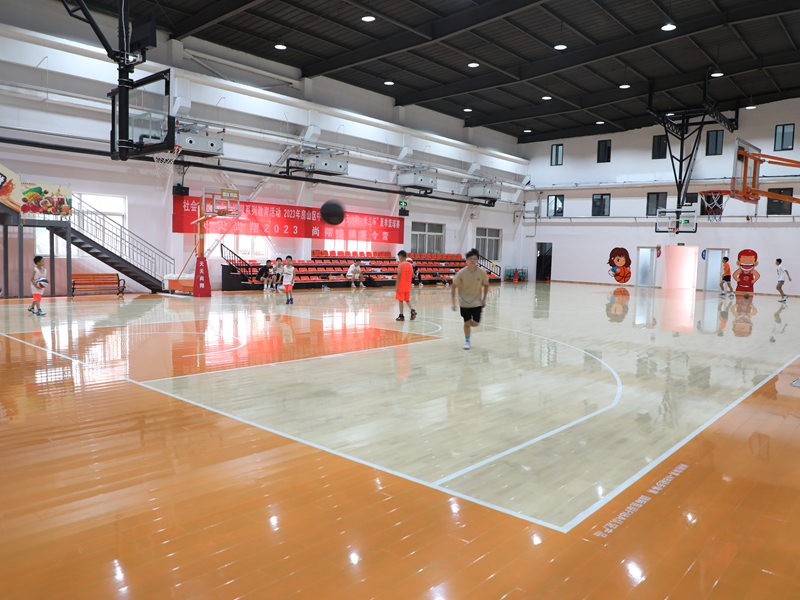
Okay, folks, let’s dive into my latest project: installing some LVL volleyball hard maple assembled wooden flooring. It was a bit of a beast, but totally worth it in the end.
First things first, I gathered all my materials. This wasn’t a trip to the local hardware store, I sourced this beautiful hard maple flooring, the LVL (Laminated Veneer Lumber) subfloor, some heavy-duty adhesive, and all the usual suspects – nails, screws, saw, level, measuring tape, the whole nine yards.

Prepping the Space
Next up, I prepped the area. This involved a lot of cleaning and making sure the existing concrete slab was perfectly level. Any bumps or dips would translate to problems later, so I spent a good chunk of time with a self-leveling compound, filling in any low spots and grinding down any high ones. Patience is key here, people!
Laying Down the LVL
Once the concrete was ready, I started on the LVL subfloor. These things are strong, so I was able to make it. Think of it like building a super-strong foundation. I laid down the LVL panels, making sure they were tightly butted together and staggered the joints for extra stability. Then, I secured them to the concrete using construction adhesive and concrete screws. It’s like building a giant, flat jigsaw puzzle.
Installing the Maple Flooring
Now for the fun part – installing that gorgeous maple! I started by laying out a few rows dry, just to get a feel for the pattern and make sure I wasn’t going to end up with tiny, awkward pieces at the edges of the room. I wanted full-width planks along the most visible walls.
With the layout figured out, I began gluing and nailing. I applied a generous amount of adhesive to the back of each plank and then used a flooring nailer to secure it to the LVL. I did use some nails to hold it down and keep it solid.
- Work your way across the room, row by row.
- Keep the planks tight together.
- Use a tapping block and mallet to avoid damaging the edges.
- Stagger the end joints for a more natural look.
The Finishing Touches
After all the planks were down, I gave the adhesive a couple of days to fully cure. Then, I filled any nail holes with wood filler, sanded the entire floor smooth, and applied several coats of polyurethane finish. This is where the magic happens, folks. That finish really brings out the beauty of the maple and protects it from wear and tear.
And there you have it! A brand new, super-durable, and stunning hard maple volleyball floor. It was a lot of work, but seeing the finished product made it all worthwhile. My shoulder hurt, my knees were screaming, but hey, no pain, no gain, right? Plus, now I have a killer court to show off!


