
Okay, here’s my blog post about installing that LVL dancing parquet flooring:
So, I decided to tackle a project I’ve been eyeing for a while – installing some of that cool dancing parquet flooring. I went with LVL (Laminated Veneer Lumber) because it seemed like a good balance of sturdy and, well, not crazy expensive. Let me tell you, it was a bit of an adventure!
Getting Started
>
First things first, I cleared out the room. Everything. Furniture, rugs, even the little dust bunnies hiding in the corners. Then came the prep work. I wanted a super smooth surface, so I spent a good chunk of time checking the subfloor. Made sure it was level, any dips or bumps got filled in and sanded down.
The Fun Part (and the Frustrating Part)
Then, the boxes of LVL arrived. It was like a giant wooden puzzle! I laid out a few rows without any glue, just to get a feel for the pattern and how it would all fit together. It took some figuring out, let me tell you. There are a few different ways to the design and install. You’ve got to find the best way for the space you are working with!
Once I had a plan, I started applying the adhesive. I used a trowel to spread it evenly on the subfloor, working in small sections. Then, carefully, I placed each piece of the parquet, making sure it was snug against the others. This part was kind of like a dance itself – a slow, careful waltz of wood and glue.
The Home Stretch
- Pressing: After laying down each section, I used a heavy roller to really press the wood into the adhesive. This is important for a good bond!
- Waiting: The adhesive needed time to cure, so I had to leave the floor alone for a full 24 hours. No walking on it!
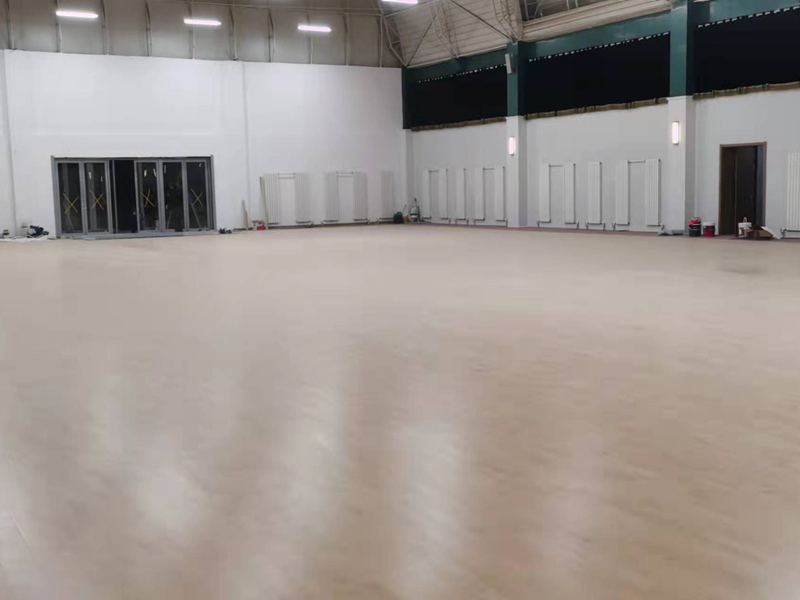
- Finishing: Finally. I put the furniture back.
It was a lot of work, but seeing the finished floor was totally worth it. It looks amazing, and it feels solid underfoot. I will update how it holds up!


