
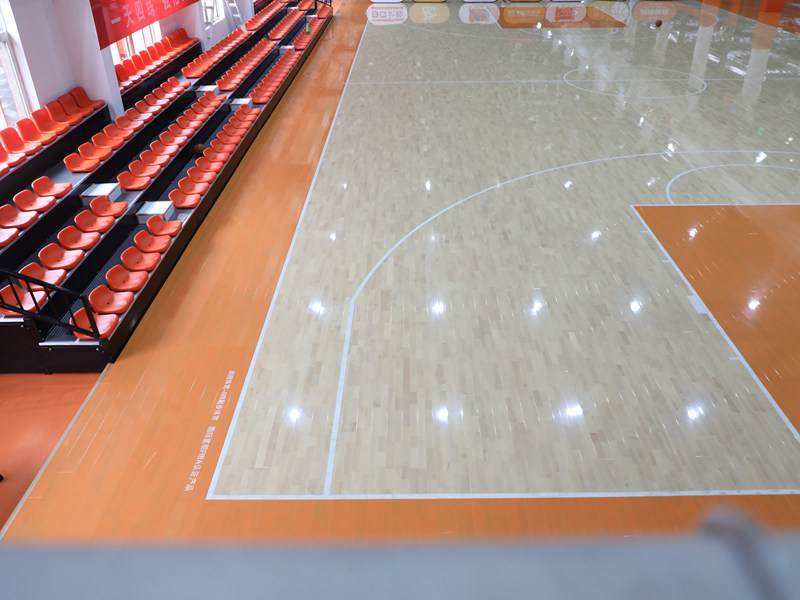
Okay, here’s my blog post about my recent experience with a hard maple sports floor, written in a casual, first-person style:
So, I tackled a pretty cool project recently – installing a keel volleyball hard maple assembly wooden flooring. Sounds fancy, right? It’s basically a top-of-the-line sports floor, the kind you see in professional arenas. Let me tell you, it was a learning experience!
Getting Started
First things first, I cleared out the entire area. This wasn’t just a quick sweep-up. I mean, everything had to go. Old flooring, furniture, dust bunnies the size of my fist – you name it. I wanted a completely blank canvas to work with.
Next, the subfloor needed some love. This is the foundation, so it’s gotta be perfect. I spent a good chunk of time inspecting it for any damage, unevenness, or moisture. I patched up any cracks with some leveling compound and made sure the whole thing was level. Took a while, but so worth it.
The Keel System
This floor uses a “keel” system, which is basically a framework of supports that go underneath the maple planks. It’s what gives the floor its bounce and resilience. Setting up the keel was like putting together a giant puzzle. Each piece had to be perfectly aligned and secured. I use measuring tools to make sure everything was spot-on.
- Assembling the keels: Each keel piece interlocked with the next. It’s crucial to get this right, or the whole floor will be off.
- Securing the keels: I used some heavy-duty adhesive and screws to lock the keels down to the subfloor. No wobbling allowed!
Laying the Maple
Now for the star of the show – the hard maple planks! These things were beautiful, all smooth and pre-finished. But heavy! My back definitely felt it after a few hours.
Laying the planks was a methodical process. I started in one corner and worked my way across, row by row. Each plank had a tongue-and-groove edge, so they fit together snugly. I used a mallet and a tapping block to gently nudge them into place. No gaps allowed!
Of course, I had to cut some planks to fit around the edges of the room and any obstacles. A circular saw was perfect for the lengthwise cuts. Took some patience and careful measuring.
Finishing Touches
Once all the planks were down, it was time for the finishing touches.
- I carefully inspected to make sure all planks well connected each other.
- I had to deal with the volleyball net socket.
And that’s it! My hard maple sports floor was complete. It looked amazing, and I was pretty proud of myself. It was a challenging project, but seeing the finished product made all the sweat and sore muscles worth it.


