
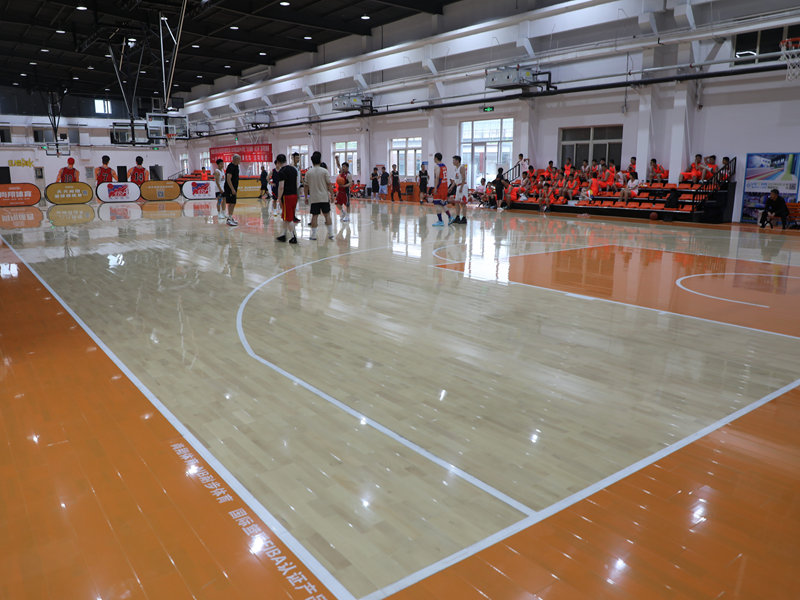
Okay, folks, let’s dive into my little weekend project: putting together a keel volleyball hard assembly wooden flooring. It sounds fancy, but it’s basically just a type of sports flooring.
First things first, I gathered all my materials. This was a bit of a scavenger hunt, to be honest. I needed the wooden flooring panels, obviously, the underlayment (that’s the stuff that goes underneath for cushioning), and the keel system itself. The keel is like the skeleton of the floor, giving it that bounce and support.
Getting Started
I started by clearing out the space. This was probably the least fun part. Moved all the furniture, swept the concrete slab like a madman, and made sure it was level. A wonky subfloor means a wonky finished floor, and nobody wants that.
Laying the Underlayment
Next up, I rolled out the underlayment. It’s usually some kind of foam or rubbery material. This part was pretty straightforward. I just made sure it covered the entire area, taping the seams together so it wouldn’t shift around.
Assembling the Keel
Now for the fun part (sort of): assembling the keel. My keel system came in pieces, like a giant, wooden puzzle. I followed the instructions (yes, I actually read them!), connecting the pieces together. It’s mostly a matter of interlocking them and maybe using some screws or bolts to secure everything. Think of it like building with giant LEGOs, but way less colorful.
- Checked that all keel parts interconnected.
- Make sure keel placed according to plan drawing.
- Fixed keel and check level.
Installing the Flooring Panels
Once the keel was all set up, it was time to start laying down the wooden panels. This is where you really start to see it come together. I started in one corner and worked my way across, clicking or nailing the panels into the keel system. The “clicking” depends on the type of flooring you get – some have these nifty interlocking edges.
Finishing Touches
After all the panels were down, I installed the transition strips where the flooring met other surfaces (like doorways). Then, I gave the whole thing a good sweep and a once-over to make sure everything looked good and felt solid underfoot.
Honestly, it was a bit of a workout, but totally satisfying to see the finished product. It’s not perfect, but it’s my own little DIY sports court. Now, who’s up for a game?


