
Okay, here’s my blog post about that flooring project, written in a casual, personal style:
So, I finally got around to tackling that flooring project I’ve been putting off. The room’s been needing it for, like, forever, and I finally bit the bullet. The idea? “Cushions dancing maple assembly wooden flooring.” Sounds fancy, huh? It’s basically just nice, light-colored wood flooring with a good underlayment.
Getting Started
First things first, I had to clear out the ENTIRE room. That was a workout in itself! Moving furniture, rolling up the old rug (which was, let’s be honest, disgusting), and just generally getting everything out of the way.
Next up was prepping the subfloor. The house is pretty old, so the floor was kinda… wonky. Lots of uneven spots. I spent a good chunk of time sweeping, vacuuming, and then scraping off any old adhesive or whatever gunk was stuck down.
Then came the fun part (not really): leveling! I used some self-leveling compound to smooth things out. You basically mix it up like pancake batter, pour it on, and it magically finds its own level. It’s kinda cool to watch, but also kinda stressful because you gotta work fast before it sets.
Laying the Underlayment(cushions)
Once the leveling compound was dry (took a full day, ugh), I could put down the underlayment. I went with a cork underlayment because someone told me it was good for sound dampening and it felt kind of “cushiony” to make the floor “dancing”. Rolling it out was easy enough, just had to cut it to size with a utility knife and tape the seams together.
The Main Event: The Flooring(maple assembly wooden flooring)
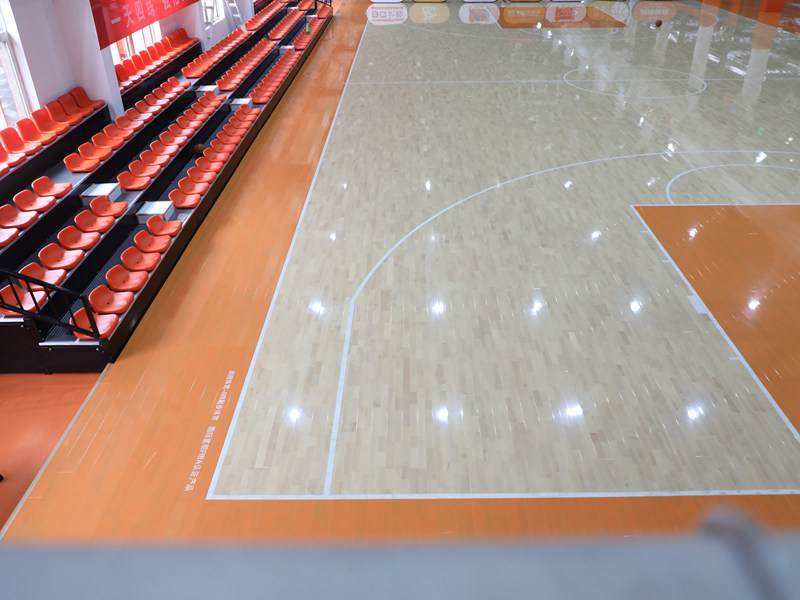
Finally, time for the actual flooring! I’d chosen this beautiful, light maple. It’s got this really warm, inviting look. The planks were the “click-lock” kind, which are supposed to be easy to install. Spoiler alert: they’re mostly easy.
I started in one corner, following the instructions that came with the flooring. Clicking the first few rows together was surprisingly satisfying. You just line them up, give them a little tap, and they snap into place. It felt like I was making real progress!
- Snap the short ends of the planks together first.
- Angle and click the long sides into place.
- Use a tapping block and hammer for gentle encouragement. (Don’t whack it too hard or you’ll damage the edges!)
But then… the inevitable challenges. Cutting planks to fit around doorways and weird corners? Not so fun. I definitely messed up a few cuts and had to grab extra planks. Measure twice, cut once, they say. I say, measure three times, cut once, and still probably mess it up.
There were a few spots where I had to get creative with a pull bar and a hammer to get the planks to click together in tight spaces. It’s a bit of a puzzle, figuring out the best way to get everything to fit without leaving gaps.
The Finishing Touches
After what felt like an eternity (probably about two days of solid work), I finally got all the flooring down! It looked AMAZING. Seriously, the difference was night and day. The light maple brightened up the whole room.
The last step was to install the baseboards. This covered up the expansion gap around the edges of the room (you need that gap to let the wood expand and contract with temperature changes). Cutting and nailing the baseboards was pretty straightforward, thankfully. I did fill the nail and the joints to look smooth.
And… that’s it! My “cushions dancing maple assembly wooden flooring” project was complete. It was a lot of work, and there were definitely some frustrating moments, but seeing the finished product made it all worthwhile. Plus, I saved a ton of money by doing it myself. Would I do it again? Maybe. Ask me again in a few months.


