
Honestly, I’d been seeing this Pad Volleyball Plywood Timber stuff pop up more and more, you know? Kept hearing murmurs about it being this magic solution for court upgrades. My old court surface – man, it was a real pain. Concrete base, some kinda thin plastic tiles on top… felt awful sometimes, played too slow when it was damp, little cracks starting to show.
So, I decided enough was enough. Time to really check this plywood timber thing out, hands-on. Forget the sales pitches, I wanted to know if it actually lived up to the buzz for my kinda project. Let me tell ya how it went.
The First Step: Looking into it Properly
Started simple. Hit the phones, actually talked to a few suppliers, not just looked online. Asked dumb questions like, “Will this crap actually hold up to constant jumping?” and “How bad is the weather gonna wreck it?” Found a supplier who seemed straight up, didn’t try to oversell it. Their sample felt surprisingly solid, dense, thick – way different than I pictured cheap plywood. That got me kinda interested.
Digging Deeper: Checking Out Real Courts
Just talking ain’t enough, right? I had to see it myself. Took a drive out to a facility nearby that swapped to this pad system maybe a year back. Met the maintenance guy. Asked him point-blank: “Has this been a headache?” His answer surprised me. Said the main worry was water, and the timber part wasn’t giving him grief at all. “We just sweep it,” he shrugged. The players I talked to? Loved the feel – consistent bounce, no weird slips. Okay, maybe this has legs.
Taking the Plunge: Actually Doing the Project
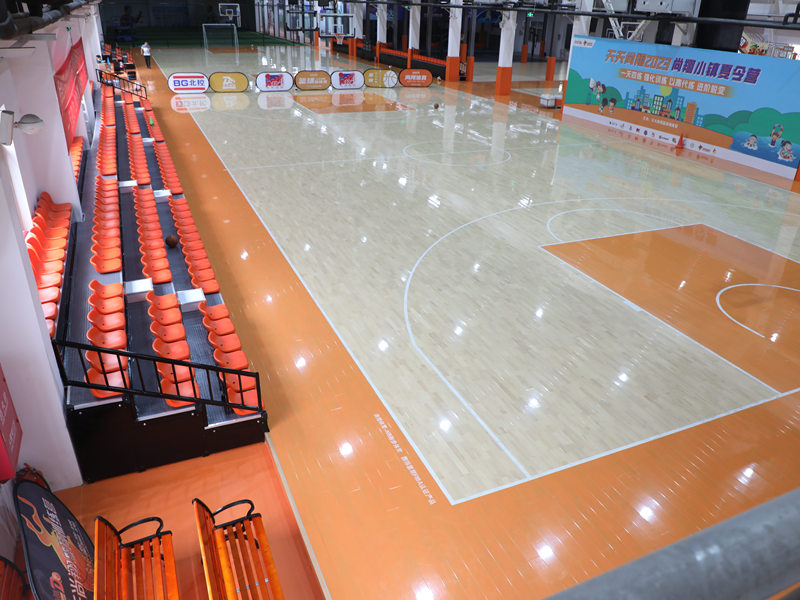
Right then, time to get my hands dirty. Chose my supplier, got those big plywood panels delivered. They look… well, like plywood slabs at first glance. Heavy, too! But you can see the quality layering. The real key? Laying that proper pad layer underneath first. That’s the foundation, gotta get that perfectly flat, no shortcuts. Then it was time for the timber on top. They lock together nice and tight. Honestly, the actual putting-it-down part was smoother than I feared. Less finicky than those fiddly tiles I used before.
Letting it Settle & Seeing the Magic
Patience is key! Let everything sit for ages as the instructions said – felt like forever waiting to test it. But finally… first game on it? Wow, what a difference. That impact feel landing? Way nicer, knees didn’t scream as much. The ball bounce? Pure and predictable. And yeah, it rained a couple days later. Remember how my old surface would have that slick wet patch for ages? Gone. Water just drains through the joints and the pad layer does its job underneath.
So, What Did I Figure Out?
A bit over six months now with my new Pad Volleyball Plywood Timber court. Time to eat my humble pie, maybe. Here’s the real deal advantages that hit me:
- Players Aren’t Complaining About Sore Joints Anymore: Seriously, that pad underneath takes the shock out. Landings feel different, much gentler.
- The Damn Ball Behaves!: Forget weird bounces. Consistent every time. Makes the game so much better.
- Water? What Water?: After rain, this court dries faster than any I’ve seen before. Seriously, play sooner, less sliding risks. That drainage works.
- I Spend Less Time Sweating the Small Stuff: Almost no maintenance fuss. Sweep it, keep debris off. It’s tough. Looks as good as it did the day we laid it down. Big win.
I’ll be real honest: I had some doubts at the start. Plywood? For real? But seeing it work, living with it? Totally converted. That cost difference compared to the high-end stuff? Definitely worth it for the results you get. Feels like a solid, high-performance court without wrecking the wallet. If your court needs love, this stuff? Yeah, absolutely worth a look. Best decision I made for the old court.


