
Okay, here’s my blog post about installing batten volleyball soft maple wooden flooring, written from my personal experience:
Alright, so I finally got around to tackling that project I’ve been putting off – putting in a new floor for my little indoor volleyball practice area. I’ve always wanted a good, solid, springy surface, and after way too much online window shopping, I decided to go with a batten system and some nice soft maple.
Getting Started
First things first, I cleared out the entire space. This involved moving a ton of junk, I’m a bit of a hoarder, I confess and then giving the old concrete floor a serious cleaning. I mean, serious. I scrubbed, vacuumed, and even used some concrete cleaner to make sure there wasn’t any dust or grime left. You don’t want anything messing with the new floor!
The Batten System
Next up was the batten system. I chose this because it gives the floor that nice “bounce” you need for volleyball. Basically, it’s a framework of wooden strips that creates an air space beneath the actual flooring. I laid down a vapor barrier first – just a big sheet of plastic – to protect against any moisture coming up from the concrete. Then, I started arranging the battens.
It’s important to space them evenly. Measure twice, cut once, as my grandpa always said! I used construction adhesive and concrete screws to secure them firmly.
Laying the Maple
Now for the pretty part – the soft maple flooring! I let the wood acclimate in the room for a few days. My friend told me that, apparently, wood expands and contracts with humidity, and you want it to get used to the room’s environment before you install it.
Starting from one wall, I began laying the planks. I used a flooring nailer, which was a lifesaver. It made the whole process so much faster and ensured the nails were driven in at the right angle. I staggered the joints, you know, so it looks like a proper wood floor and not some weird grid.
- I had to use a jigsaw to cut the planks to fit around the edges and any weird corners.
- Between you and me, there were a couple of miscuts, but thankfully, I had ordered a bit extra!
Finishing Touches
Once all the flooring was down, I gave it a good sanding. I rented a big floor sander from the local hardware store, and it made quick work of smoothing everything out. Then came the staining and sealing. I went with a natural finish to really show off the beautiful grain of the maple.
After several coats of polyurethane – with plenty of drying time in between – the floor was finally done! I added some baseboards around the edges to give it a finished look, and that was that.
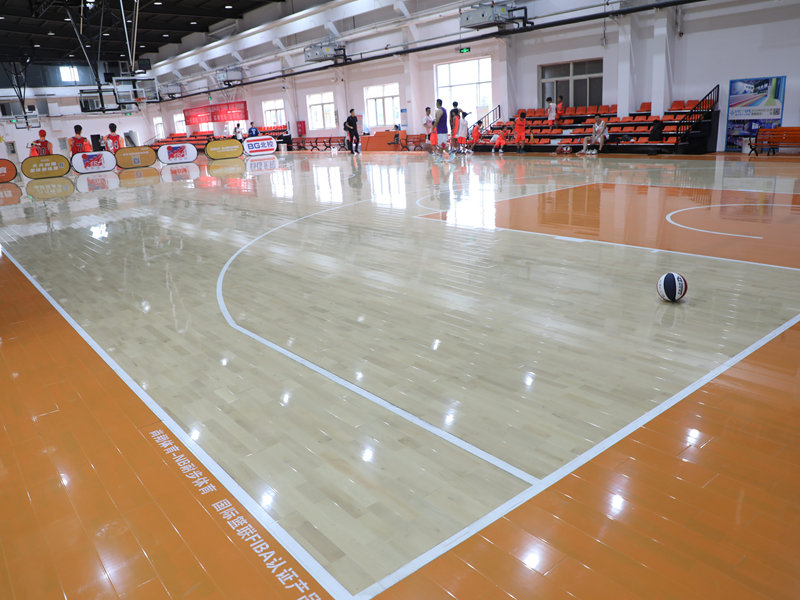
The Result
I gotta say, it was a lot of work, but totally worth it. The floor feels amazing underfoot, and it’s got just the right amount of give for practicing my volleyball moves. It’s like having a professional court right in my own home! My friends are all jealous, and honestly, so am I a little bit. I keep going in there just to bounce a ball and admire my handiwork.
If you are looking for similar effect. Just do it!


