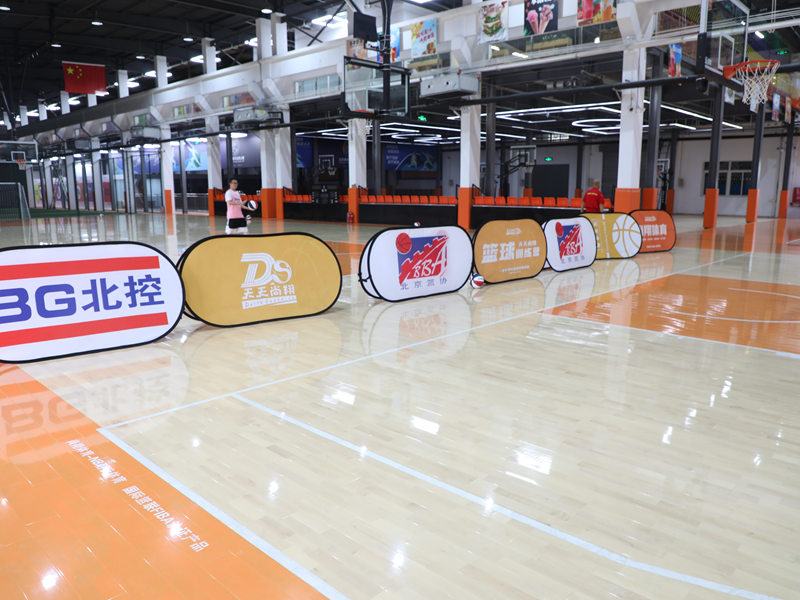
Okay, so I’ve been wanting to redo the flooring in my makeshift volleyball practice area for a while now. The old concrete was just brutal on the knees. After looking at a bunch of options, I decided to go with this batten system and some pine planks – figured it would give a bit of spring and be way more forgiving.

Getting Started
>
First things first, I cleared out the entire space. This meant moving all the equipment, sweeping up a ton of dust, and generally making sure I had a clean slate to work with. I used some concrete cleaner to get rid of the old, and then used a leveler to smooth the surface, and I waited for it to dry.
The Batten Framework
Next up was building the batten framework. I got these pre-treated battens – basically just long, thin pieces of wood. The idea is to create a grid that the floorboards will sit on, giving that crucial bit of bounce. I laid them out, making sure they were evenly spaced. The instructions I found online suggested 16 inches apart, so that’s what I went with. I used a whole bunch of concrete screws to secure them down. Honestly, this part took the longest – lots of drilling and making sure everything was level. I used my old level tool to ensure the battens are placed in a line.
Laying the Pine Planks
>
Once the batten framework was solid, it was time for the fun part – laying down the actual pine planks. I chose tongue and groove pine because it’s relatively inexpensive and looks pretty decent. Plus, the tongue and groove system makes it super easy to fit the planks together. I started at one wall and just worked my way across, tapping each plank into place with a rubber mallet. A little tip: I left a small gap around the edges of the room for expansion – wood tends to swell and shrink with changes in humidity, so you need to give it some room to breathe.
Finishing Touches
>
After all the planks were down, I gave the whole floor a good sanding. This smoothed out any uneven spots and got rid of any splinters. I used three different grits of sandpaper,starting out rough and moving to very fine. Then,I cleaned and vacuumed up all that dust that was created from sanding.
Finally, I applied a couple of coats of polyurethane sealant. This will protect the wood from scratches and spills, and it also gives it a nice, finished look. I let each coat dry completely before adding the next one.
The Result
>
- The batten system added nice cushioning.
- The pine wood floor is strong.
- It is more comfortable to practice.
And that’s it! It was a solid weekend project, and now I’ve got a volleyball practice area that’s way easier on the joints. I’m pretty stoked with how it turned out!


