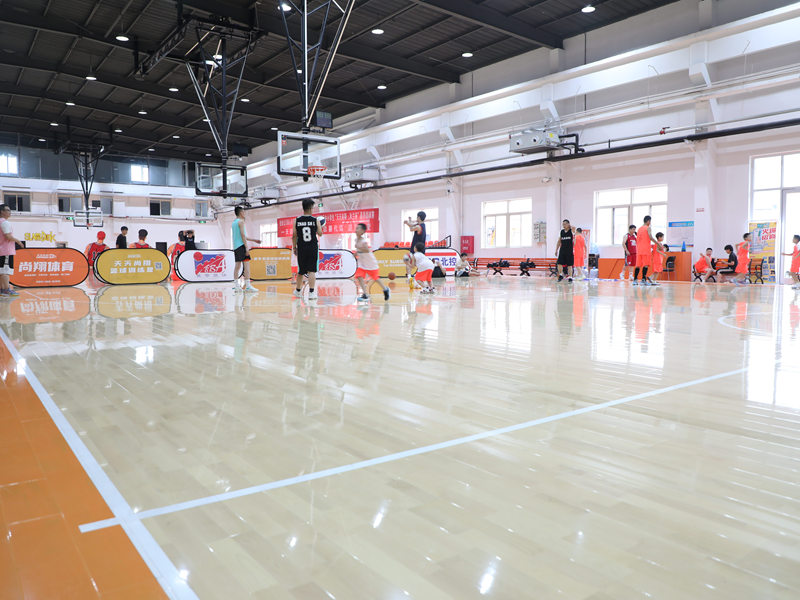
Okay, so I’ve been wanting to redo my home gym floor for, like, forever. The old carpet was gross, and I wanted something that could handle dropped weights and, you know, the occasional volleyball practice session. I decided to go with a batten volleyball maple assembling wooden flooring. I thought it would look amazing and be super durable. Here’s how it all went down:

Prepping the Space
First, I cleared everything out. Everything. Weights, benches, the dusty old treadmill – all of it went into the garage. Then came the fun part (not really): ripping up that nasty old carpet. It was stapled down like crazy, so it took some serious elbow grease and a good pry bar. Underneath was just the concrete subfloor, which, thankfully, was in pretty decent shape.
I swept the concrete like a maniac, then vacuumed it, and then swept it again. I wanted to make sure there was absolutely no dust or debris left. Any little thing could mess up the level of the floor later on.
Laying Down the Battens
Next up were the battens. These are basically just strips of wood that create a framework for the flooring. I used 2x4s for this, because they seemed sturdy enough. I spaced them out evenly across the floor, leaving a small gap between each one and the wall, which is for expansion.I used a level to make sure it is at the same height.
I secured the battens to the concrete using concrete screws. I pre-drilled the holes, which made things a lot easier. This part was kind of a pain, lots of bending over and screwing,but important to get it perfect.
Assembling the Maple Flooring
Now for the pretty part! The maple flooring came in these interlocking pieces, like a giant jigsaw puzzle. I started in one corner and worked my way across the room, snapping the pieces together. It was actually pretty satisfying to hear that click when they locked into place.
I used a rubber mallet to gently tap the pieces together and make sure they were snug. For the edges, I had to use a saw to cut some of the pieces to fit. That was a little tricky, but I took my time and measured twice (sometimes three times!) before cutting.
The Finishing Touches
Once all the flooring was down, I installed some baseboards around the edges to cover up the expansion gap and give it a nice, finished look. I just nailed those to the wall.
Finally, I gave the whole floor a good cleaning. There was a bit of sawdust from the cutting, but it cleaned up easily.
And that’s it! My new home gym floor. It took a couple of weekends of hard work, but it was totally worth it. It looks awesome, and it’s so much better than that old carpet. I can’t wait to actually, you know, use it!


