
Okay, here’s my experience with assembling a batten volleyball parquet wooden floor.
Alright, so I decided to tackle this project – installing a batten volleyball parquet floor. I’d seen these in gyms and always loved the look and feel of them. I figured, “How hard could it be?” (Famous last words, right?).
Getting Started
First things first, I cleared out the entire space. This was a big room, so it took a while, moving furniture, rolling up rugs, the whole nine yards. Then came the cleaning. I swept, vacuumed, and even mopped the existing subfloor to make sure it was spotless. I mean, you don’t want any dust or debris messing with your new floor.
The Battens
Next up were the battens. These are basically wooden strips that create a framework for the parquet panels. I laid them out according to the instructions, making sure they were evenly spaced and running in the right direction. This part was crucial, because any mistakes here would throw off the whole floor.
I used a leveling tool and adjusted everything.
Then I screwed the battens into concrete subfloor. I had to pre-drill the holes, which was a bit of a pain, but necessary to prevent the wood from splitting.
Laying the Parquet
Now for the fun part – laying down the actual parquet panels! These were beautiful, pre-finished pieces of wood, all cut to fit together like a giant puzzle. I started in one corner, carefully slotting the first panel into place against the battens.
Interlocking the panels. Each panel had grooves that fit snugly into the next. It was actually pretty satisfying to hear that “click” as they locked together.
I worked my way across the room, row by row, making sure each panel was tight against the others. There were times I had to use a rubber mallet to gently tap them into place, but mostly it went smoothly. I did have to cut some panels to fit around the edges of the room and doorways. I used a jigsaw for this, and let me tell you, measuring twice and cutting once is definitely the way to go!
The Finishing Touches
Once all the panels were down, I installed some trim around the perimeter of the room to cover the expansion gap and give it a finished look. I nailed trim into place, making sure to countersink the nails so they wouldn’t stick out.
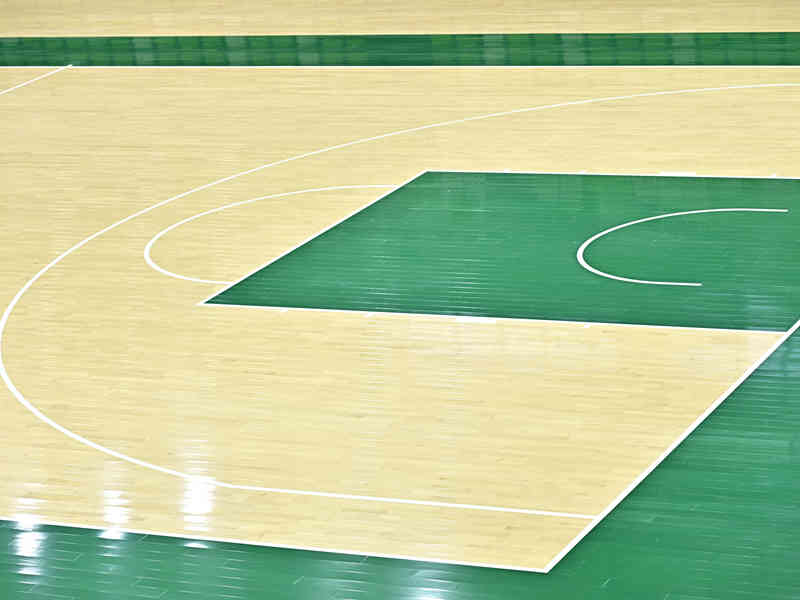
The Result!
And… that was it! I stood back and admired my handiwork. It was a lot of work, and my back definitely felt it, but the result was totally worth it. The floor looked amazing, and it felt solid and springy underfoot – perfect for volleyball (or just walking around, really). I’m not gonna lie, I felt pretty proud of myself for pulling this off.
It really changed whole room’s vibe.


