
Okay, here’s my blog post about putting in that batten basketball engineered wooden floor:
Alright, so I’ve been wanting to upgrade the flooring in my home gym/basketball practice area for ages. The old concrete was just brutal on the knees, and I wanted something that looked good and had some give. I decided to go with an engineered wood floor over battens – figured it’d give me that real basketball court feel.
Getting Started
>
First things first, I cleared out the entire space. That meant moving all the gym equipment, weights, everything. It was a workout in itself! Then, I gave the concrete floor a good sweep and vacuum. Needed a clean slate to work with.
Laying Down the Battens
Next up, the battens. I used some pretty standard 2x4s, making sure they were treated for moisture resistance since this was going over concrete. I laid them out perpendicular to the direction I wanted the floorboards to run, spacing them about 16 inches apart. This felt about right for good support.
Now, this part was a bit tricky. My concrete floor wasn’t perfectly level (whose is?). So, I had to use shims under the battens in some places to make sure everything was nice and even. I used a long level and spent a good chunk of time adjusting and re-adjusting until I was happy with it. This is super important, you don’t want a bouncy, uneven floor!
Once I had the battens all leveled, I secured them to the concrete.I used concrete screws, making sure to pre-drill the holes. This part was loud and dusty, definitely recommend some ear protection and a dust mask!
The Fun Part: Installing the Floorboards
With the batten framework down, it was time for the actual flooring. The engineered wood I got had a click-lock system, which made things way easier. Started in one corner and worked my way across the room, clicking the boards together. It’s kinda satisfying, like a giant puzzle.
I made sure to leave a small gap around the edges of the room – expansion gap, they call it. Wood expands and contracts with temperature changes, so you need to give it some room to breathe, otherwise, you’ll end up with buckling. I used some spacers to keep the gap consistent.
- Cut the boards at the ends of each row. I Used the cut, to start the next row to avoid waste.
- Tapped them gently with a rubber mallet to make sure they were fully locked in. No forcing anything!
- Checked for levelness as I went. Didn’t want any surprises later.
Finishing Touches
Once all the floorboards were down, I installed some baseboards around the perimeter to cover up that expansion gap and give it a finished look. I just nailed those into the wall studs.
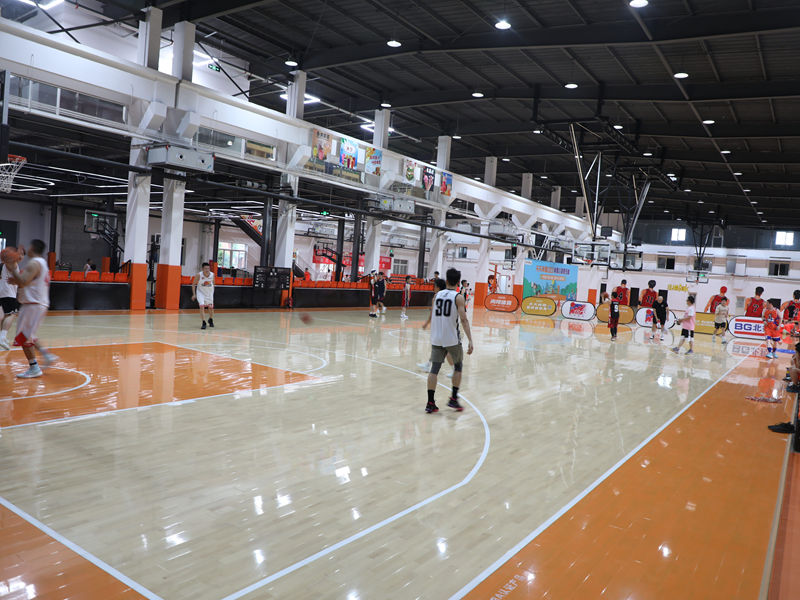
And that’s pretty much it! The whole project took me a couple of weekends, working on and off. It wasn’t super easy, but definitely doable for a DIYer. Now I’ve got a sweet basketball practice area that looks awesome and feels great underfoot. Way better than that old concrete!
My knees are thanking me, and I’m already shooting hoops like a pro (well, almost!). It’s a huge upgrade, and I’m stoked with how it turned out.


