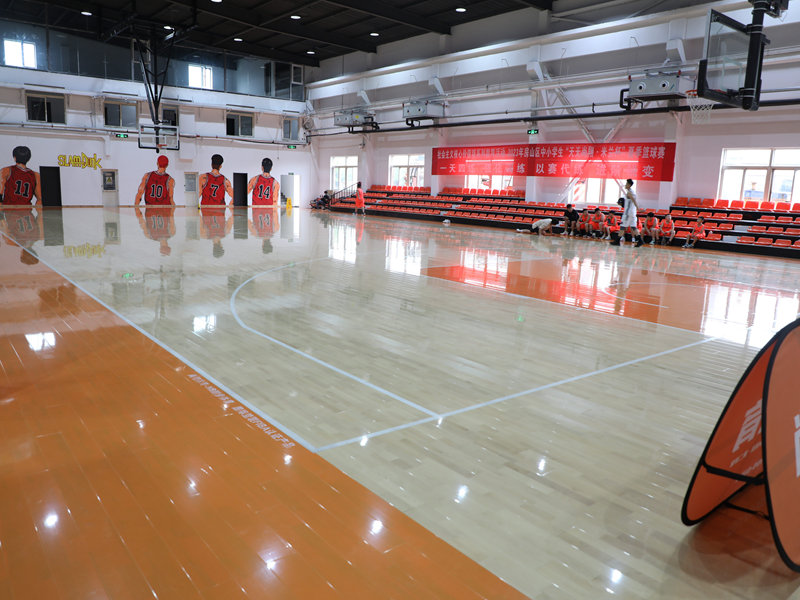
Okay, folks, let’s dive into this project I tackled: making a portable wooden basketball floor out of battened plywood. Sounds fancy, huh? It’s not as bad as it sounds, trust me.

Getting Started
First, I needed a plan. I’m no carpenter, but I’m pretty handy. I wanted something I could set up in my driveway for my kids (and, let’s be honest, me) to shoot some hoops on. Portability was key – I didn’t want to dedicate my entire driveway to a permanent court.
So, I went with plywood. It’s relatively cheap, and you can get it cut to size at most hardware stores. I opted for thicker sheets, thinkin’ it’ll hold up better to all that bouncing and, well, my questionable jump shot.
The Batten Battle
Now, plywood by itself is kinda flimsy, right? It’ll warp and bow like crazy. That’s where the battens come in. These are just strips of wood – I used 2x4s – that you screw onto the underside of the plywood. They act like a skeleton, giving the whole thing some rigidity.
I spent a good afternoon just measuring and cutting the battens. Make sure you get ’em straight! A crooked batten means a wonky floor. No one wants that.
- Measured plywood sheet dimensions.
- Cut 2x4s to create battens, making sure my cuts were as straight.
Screwing It All Together
Next up: assembly time. I laid out the plywood sheets, good side down, and started attaching the battens. Lots and lots of screws. I used exterior-grade screws since this thing will be living outside. Wouldn’t want them rusting out on me.
A little tip here: pre-drill your holes. It makes screwing things in SO much easier, and it helps prevent the wood from splitting.
I spaced the battens out evenly, making sure to put extra support around the edges and where the sheets would meet. Gotta make sure it’s solid, you know?
Putting it all together
Flipped those bad boys over, and it started looking like a real floor. It was pretty heavy.
I connect each pieces side by side. The battens really did the trick – the whole thing felt surprisingly sturdy.
The Finishing Touches (or Lack Thereof)
Honestly, I haven’t gotten around to painting or sealing it yet. It’s functional as is, and my kids were itching to start playing. Maybe I’ll add some lines later, make it look like a real court. But for now, it’s serving its purpose.
The Verdict
Was it perfect? Nope. Are there probably better ways to do it? Sure. But did I build a usable, portable basketball floor for a fraction of the cost of a professional one? You betcha. And that’s a win in my book.
It’s been holding up great so far. A few scrapes and scuffs, but nothing major. The kids love it, and I’m getting some exercise too. So, yeah, I’d call this project a success.


