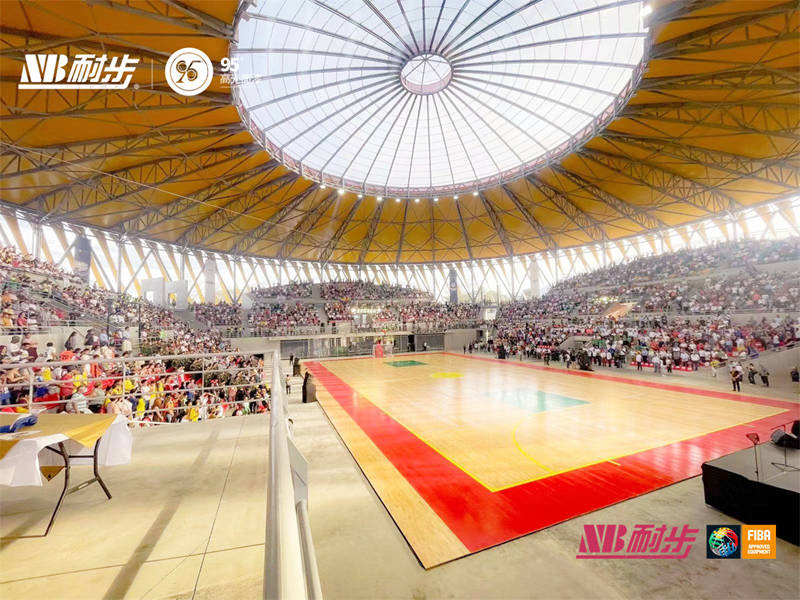
Alright, folks, let’s dive into my recent project: installing batten basketball solid wooden flooring. I’ve always been a hands-on kind of guy, and after watching countless online videos, I figured, “Why not give it a shot myself?”

Getting Started
First things first, I cleared out the entire room. This wasn’t just moving a few chairs; we’re talking everything out, down to the bare subfloor. It was a workout in itself, I tell ya!
Next, I meticulously inspected the subfloor. I was looking for any uneven spots, loose nails, or anything that might cause problems later on. Found a few squeaky spots and hammered in some extra nails to secure them. Good as new!
Laying Down the Battens
Then came the battens. These are basically the wooden strips that the flooring will be attached to. I measured the room carefully and calculated how many battens I’d need, making sure to leave some space for expansion around the edges. You don’t want the wood buckling up when it gets warm!
I laid the battens down, spacing them evenly across the floor. This part took some patience. I used a chalk line to make sure everything was straight. Then I used tons of screws,I secured each batten to the subfloor. My drill got a serious workout that day.
Installing the Flooring
With the battens in place, it was finally time for the main event: the solid wooden flooring.I rent a flooring nailer from tools rental store,I carefully positioned each plank, starting from one wall and working my way across the room. The nailer made things a lot easier, but it was still a pretty physical job. I got nailer’s instructions from renter,it is not difficult.
I had to cut some planks to fit around doorways and corners.I got a jigsaw. Not gonna lie, some of those cuts were a bit tricky, but I took my time and got it done.
Finishing Touches
Once all the flooring was down, I installed baseboards around the perimeter of the room to cover the expansion gaps.I used some small size nailer and a hammer. This gave it a nice, finished * I can see the gaps clearly.
Finally, I cleaned up the whole mess – sawdust everywhere! – and stood back to admire my handiwork. It wasn’t perfect, but I was pretty darn proud of myself. The floor looked great, felt solid underfoot, and was ready for some serious basketball action (or, you know, just walking around).
So, that’s my flooring adventure. It was a challenging project, but definitely rewarding. If you’re thinking of tackling something similar, my advice is: do your research, take your time, and don’t be afraid to get your hands dirty!


