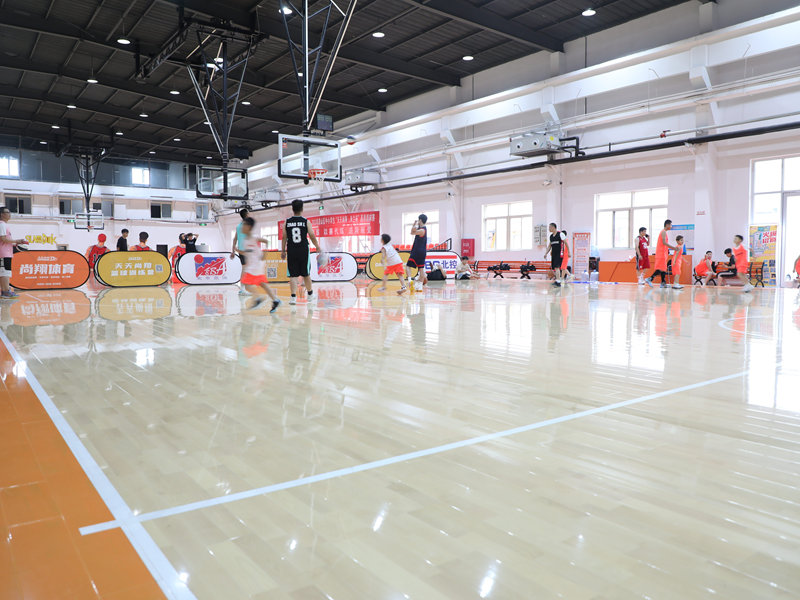
Okay, so today I tackled a project I’ve been putting off – putting down some batten basketball birch assembling wooden flooring in my spare room. I’ve always wanted a little home gym area, and this seemed like the perfect flooring for it.
First things first, I cleared out the entire room. This involved moving a bunch of old furniture and boxes, which was a workout in itself! I gave the concrete subfloor a good sweeping and vacuuming, making sure it was super clean and level. Any little bumps or debris can mess with the final result, and nobody wants a wonky floor.

Next, I rolled out the underlayment. I chose a foam underlayment, because it will help provide support to all our movements, and help with sound insulation. I taped the seams together so it wouldn’t shift around while I was working.
Then came the fun, but a bit tricky, started: laying down the battens. They are wooden strips, I had to space them out evenly across the floor, I used screws to fix them, and I made sure they were perfectly aligned. This is what the actual flooring planks would attach to, so getting it right was crucial.
With the battens in place, I started with the first row of birch planks. I made sure to leave a small expansion gap around the edges of the room, because wood expands and contracts with temperature changes. You don’t want your floor buckling later on!
The planks themselves were pretty easy to assemble. They had this click-lock system, so you just kind of angled one plank into the other and snapped them together. Sounds easy, and after the first row I went on assembling and pushing them to fix to each other.
I just kept going, row by row, making sure each plank was securely locked into the one before it. I used a rubber mallet to tap some of the stubborn ones into place – gotta be gentle, but firm! Also, to get a tight fit I used a pulling stick to pull.
The last row was a bit of a pain because I had to rip some of the planks lengthwise to fit the remaining space. Luckily, I have some experience in sawing.
Finally, I installed the baseboards around the perimeter of the room to cover up the expansion gap and give it a finished look. I just nailed those into the wall, nothing too fancy.
And that’s it! My new home gym floor is done! It took a full day of work, but it was totally worth it. It looks great, and it feels really solid underfoot. Now, I can not wait to workout!


