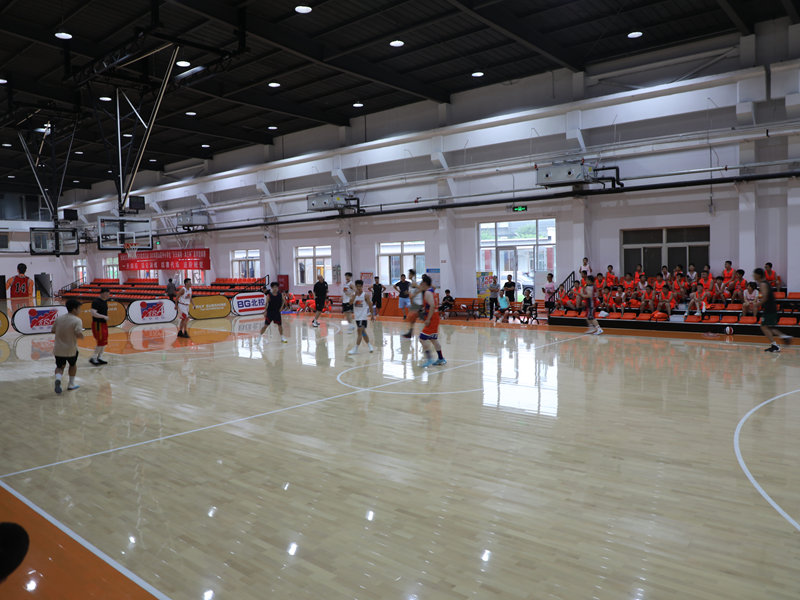
Okay, so I’ve been wanting to put in a basketball court in my basement for, like, forever. Finally got around to doing it, and man, was it a process! Figured I’d share my experience, bumps and all, in case anyone else is thinking of doing the same.

The Dream (and the Reality Check)
First, I measured the space I had to work with. Let me tell you, basements aren’t always as big as you think they are. I had this grand vision of a full-sized court…yeah, that wasn’t happening. I marked out the area and I needed that space for the court, and I quickly saw that a half-court was what will fit perfectly.
Floor Prep – The Not-So-Fun Part
My basement floor was just plain old concrete. Not exactly ideal for bouncing a basketball. Before I even considered the actual flooring, I needed to make sure it was level. There were a few dips and bumps, so I got some self-leveling concrete compound and went to work. It was messy and it took way longer to dry than I thought, but that smooth surface was worth the time.
Next up, I clean that entire area! you don’t want dust or debris getting trapped under your flooring. So i mopped it and waited for it to dry for a whole day!
Choosing the Right Flooring (So Many Options!)
This is where I spent a TON of time researching. I looked at everything:
- Hardwood: Classic look, great bounce, but pricey and needs a subfloor.
- Rubber tiles: Super durable, good for shock absorption, but can be a bit firm.
- Sport court tiles: These plastic interlocking tiles seemed like a good middle ground – durable, easier to install than hardwood, and decent bounce.
- Foam tiles:I will choose this if I have a baby,It is more suitable for babies to play.
I ended up going with the sport court tiles. They seemed like the best balance of cost, ease of installation, and performance for my needs. I chose a classic blue and red combo because, why not?
Installation – Snap, Crackle, Pop (Literally)
Installing the tiles was surprisingly easy. They literally just snap together. I started in one corner and worked my way across the floor. The hardest part was cutting the tiles to fit around the edges of the room. I used a utility knife for that, and let’s just say there were a few mis-cuts. (Measure twice, cut once, people!). The whole thing took me an entire day, but to save on my budget, I did it all by myself.
The Finished Product!
After a weekend of sweat and a few frustrating moments, I had my court! It’s not NBA-regulation size, but it’s perfect for shooting hoops and getting some exercise. The bounce is good, the tiles feel solid, and it looks awesome. My kids are loving it, and honestly, I’m pretty proud of myself for pulling it off.
My final step to complete this project is to paint the lines of the court. I don’t want to make a mistake so I asked a friend to do it for me since he’s good at painting.
If you’re thinking about doing this, my advice is: do your research, be prepared for some hard work, and don’t be afraid to ask for help (especially with the cutting!). It’s totally worth it in the end.


