
Alright, let’s talk about putting in some batten basketball engineered wooden flooring. I’ve been wanting to do this for ages, and I finally took the plunge. It’s a bit of a project, but totally doable if you’re somewhat handy and, you know, not afraid of a little sweat.
Prepping the Space
First things first, I cleared out the entire room. Everything had to go. This gave me a clean slate to work with and, more importantly, space to move around.
Then came the less fun part: checking the subfloor. I needed to make sure it was level. Any major dips or bumps, and I would have had problems later on. I used a long level and found a few uneven spots. Got some self-leveling compound and patched those areas up. It needed time to dry, so I called it a day after that.
Getting the Battens Down
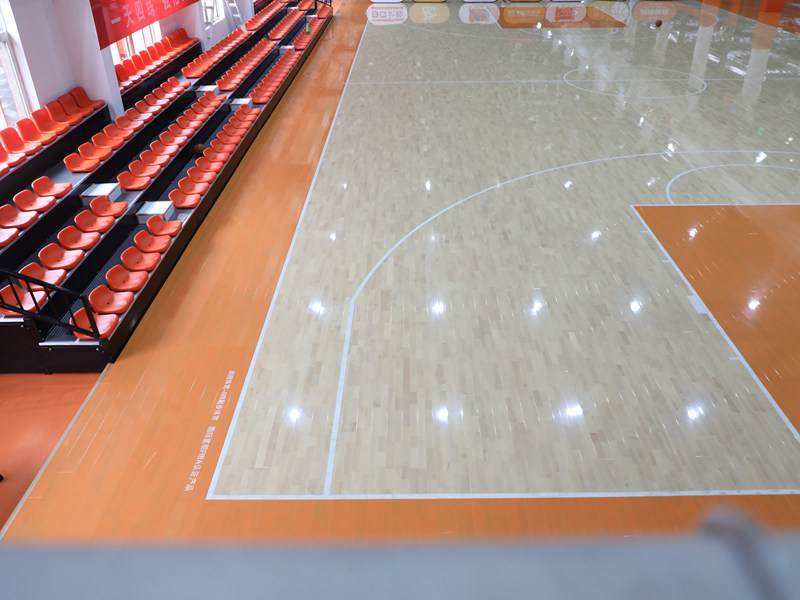
Next up, the battens! These are basically the wooden strips that the flooring sits on, giving it that “springy” basketball court feel. I measured out the spacing according to the instructions that came with the flooring – super important to follow those! I used construction adhesive and screws to secure them to the subfloor. Made sure everything was nice and aligned, because any wonkiness here would translate to the finished floor.
- Measure, measure, measure! Can’t stress this enough.
- Construction adhesive is your friend. It adds extra hold.
- Pre-drilling pilot holes for the screws is a good idea, especially if your subfloor is concrete.
Laying the Flooring
Okay, with the battens in place, it was time for the actual flooring. I started along one wall, making sure to leave a small expansion gap (again, check the instructions for the specific flooring). This is crucial because wood expands and contracts with changes in humidity.
This engineered flooring had a tongue-and-groove system, which made it pretty straightforward to click the pieces together. I used a tapping block and a rubber mallet to gently persuade them into place – you don’t want to damage the edges. For the last row, I had to rip some boards lengthwise to fit. A table saw made quick work of that.
The Finishing Touches
Almost there! Once all the flooring was down, I installed the baseboards to cover up that expansion gap. I used a nail gun for this, which was way faster than hammering. A little bit of caulk along the top edge of the baseboards, and it looked pretty darn professional, if I do say so myself.
The very last step was giving the floor a good clean. There was sawdust everywhere! After that, I just stood back and admired my handiwork. It was a bit of a workout, but totally worth it. The floor looks amazing, and it has that awesome bouncy feel you want for a basketball court.
It is ready, I can Invite my friend to play basketball together!


