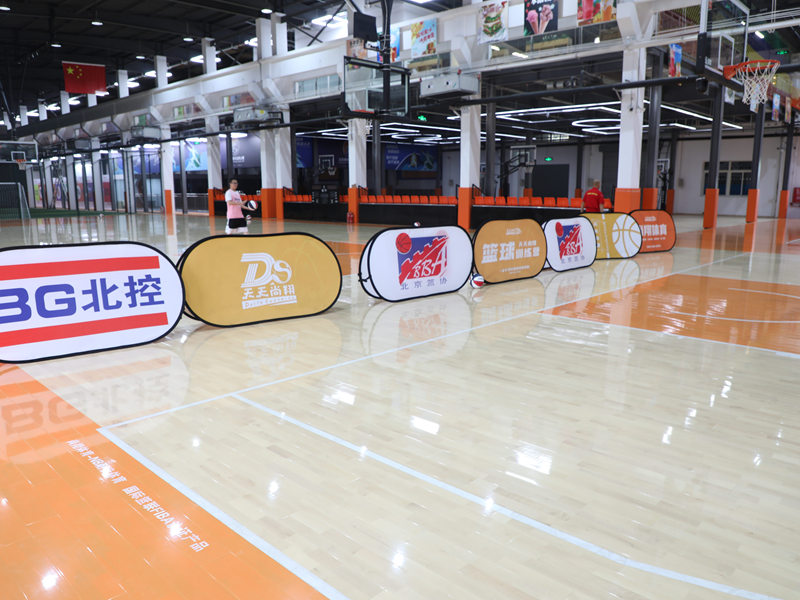
Alright, guys, let’s talk about my recent project: setting up a batten basketball birch portable wooden flooring. It was a bit of a challenge, but super rewarding in the end!
First things first, I gathered all my materials. This included, of course, the birch flooring panels, the battens (which are basically the supporting framework underneath), a whole bunch of screws, some heavy-duty adhesive, and my trusty tools – drill, saw, measuring tape, level, the works. I spread everything out in my garage so I had plenty of room to maneuver.

Next up, I started prepping the subfloor. In my case, it was just a concrete slab in my backyard. I made sure it was super clean – swept it, vacuumed it, the whole nine yards. Any little bumps or debris can mess with the final result, so I was pretty meticulous about this part.
- Clean the subfloor(Sweep, vacuum, remove any protrusions).
- Make sure the ground level.
- Layout Planning.
Then came the fun part – laying out the battens. I arranged them in a grid pattern, making sure they were evenly spaced. This is crucial for even weight distribution and to prevent the floor from feeling bouncy or unstable. I used my level constantly to make sure everything was, well, level! I secured them by screws.
Once the batten framework was solid, I started attaching the birch panels. This was a bit like putting together a giant jigsaw puzzle. I used a combination of adhesive and screws to secure each panel to the battens. The adhesive helps with stability and prevents squeaking, while the screws provide the main holding power. I had to be careful to stagger the joints between the panels – it looks better and makes the floor stronger.
Pay attention to details
There was some cutting involved, of course. I needed to trim some panels to fit around the edges of the area. I used my saw for this, making sure to measure twice (or three times!) before making any cuts. Measure twice, cut once, as they say!
After all the panels were down, I gave everything a final inspection. I checked for any loose screws, uneven spots, or gaps between the panels. I even bounced a basketball on it a few times to make sure it felt solid and responsive(That’s the important part!).
Finally, I did a quick cleanup, sweeping up sawdust and putting away my tools. And there you have it – a brand new, portable basketball court! It took some elbow grease and a bit of planning, but seeing the finished product was totally worth it. My kids are already out there shooting hoops, and I gotta say, I’m pretty proud of myself.


