
Okay, so I’ve been wanting to redo the flooring in my home gym for a while now. I’m a huge basketball fan, and I thought, “Wouldn’t it be cool to have a real basketball court feel?” So I started looking into it, and that’s when I stumbled upon LVL (Laminated Veneer Lumber) and hevea wood.
The Research Phase
First thing I did was dive deep into research. I mean, REALLY deep. I watched tons of videos, read articles, everything. I needed to know if this was even feasible. Could I actually make a decent basketball court surface out of this stuff?
Turns out, hevea wood, which is from rubber trees, is pretty darn strong and durable. And LVL, because it’s engineered wood, is supposed to be super stable and resistant to warping. That’s important for a basketball court, you don’t want a bouncy, uneven surface!
Getting My Hands Dirty
Next step: actually getting the materials. I found a local supplier that had both the hevea wood planks and the LVL subfloor panels. It wasn’t cheap, let me tell you, but I figured it was an investment in my home (and my jump shot!).
Prepping the Subfloor: This was probably the most boring part. I had to make sure my existing concrete floor was level. I used some self-leveling compound, it spread across the area, then I use a leveler to smooth it out, then I wait for it to dry.
- Clean the concrete thoroughly.
- Apply a concrete sealer.
- Lay down the LVL panels, making sure they were snug and secure.
Laying the Hevea
This is where it got exciting. I started laying down the hevea planks, one by one. I used a good quality adhesive, and I made sure to leave a small expansion gap around the perimeter of the room (wood expands and contracts with temperature changes, you know).
I used a mallet and a tapping block to make sure each plank was tightly fitted against the next. It was slow going, but super satisfying to see the court starting to take shape.
Finishing Touches
Once all the planks were down, I had to sand the entire surface to make it perfectly smooth. I rented a big floor sander for this – definitely worth it! Then came the finishing. I used a polyurethane sealant specifically designed for sports floors. I applied three coats, letting each one dry completely before applying the next.
The Result
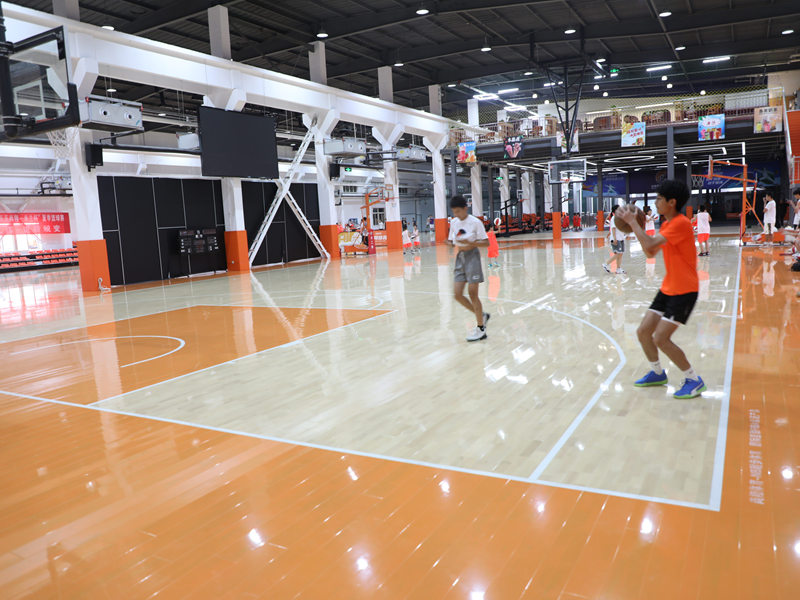
Man, it turned out amazing! It looks and feels like a real basketball court. The bounce is perfect, and it’s so much easier on my joints than the concrete was. My kids love it, and I’ve been spending way more time shooting hoops. Totally worth the effort!
It was a big project, no doubt about it. But seeing the finished product, and knowing I did it all myself, it’s a pretty awesome feeling. If you’re thinking about doing something similar, just be prepared for some hard work, and do your research!


